.jpg&w=1600&q=75)
Marquee Installation: Tips and Assembly Instructions for Marquees and Party Tents
In order to turn your next outdoor event into an unforgettable experience follow our party tent assembly instructions and safely put up your new event structure. With just a few tips and clear instructions, setting up your marquee is very easy.
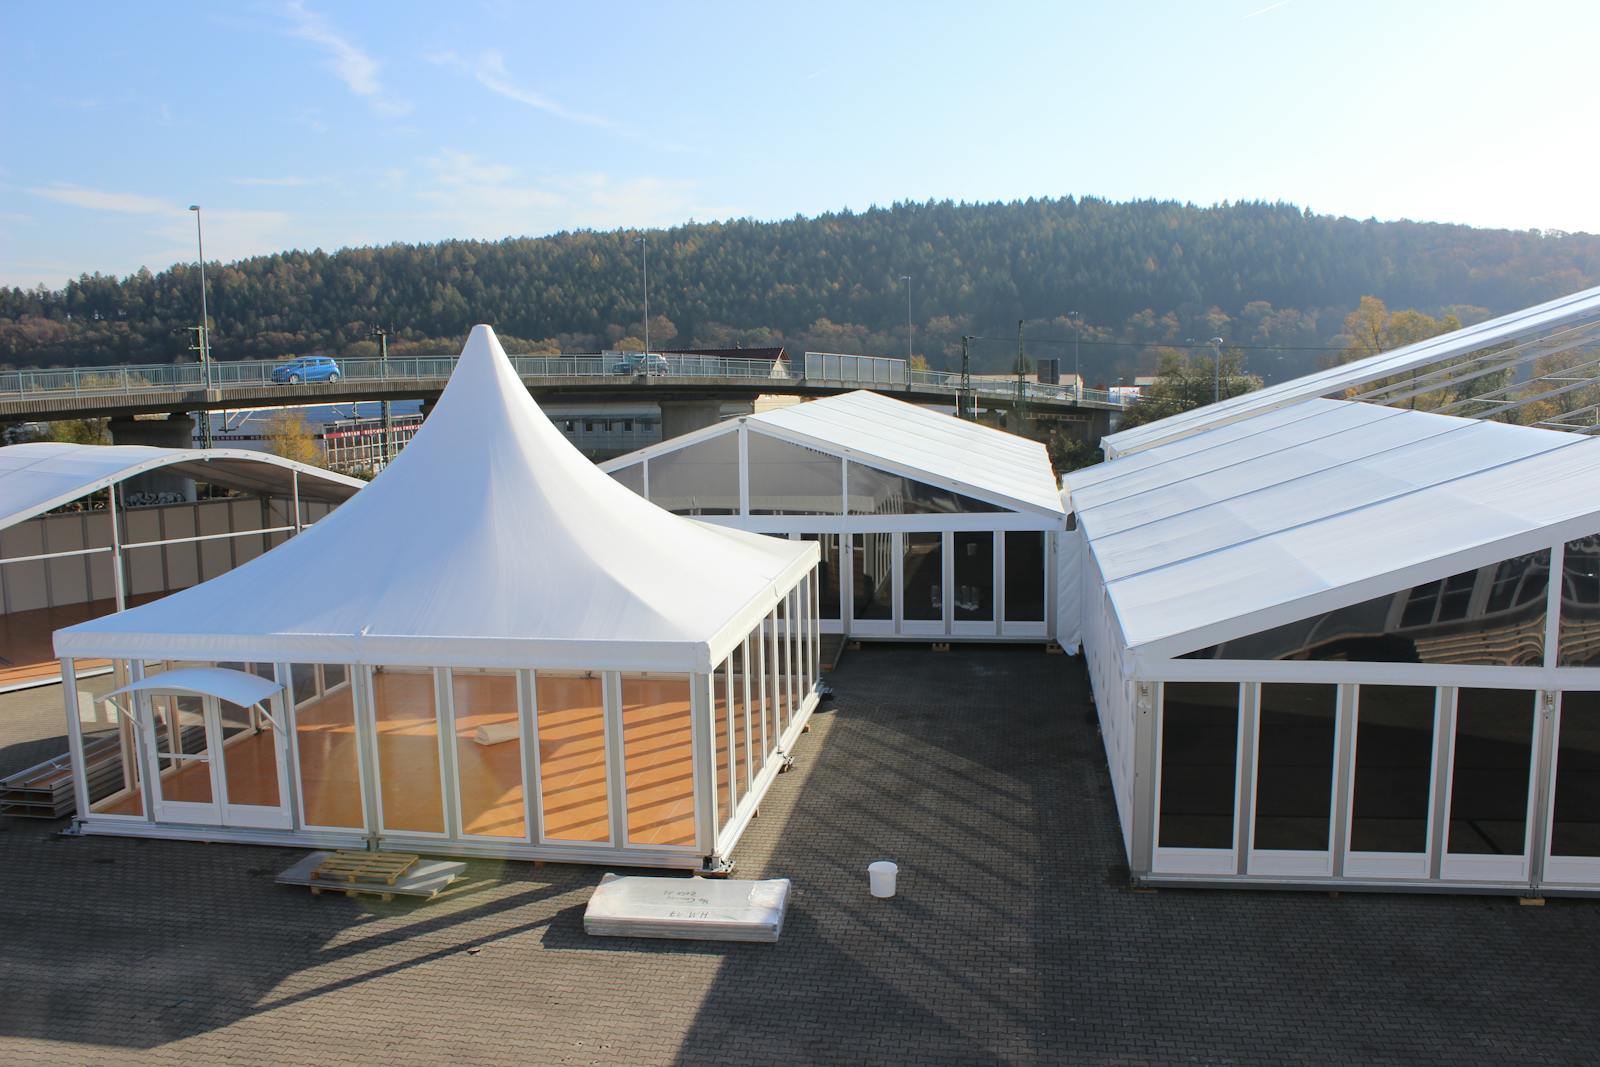
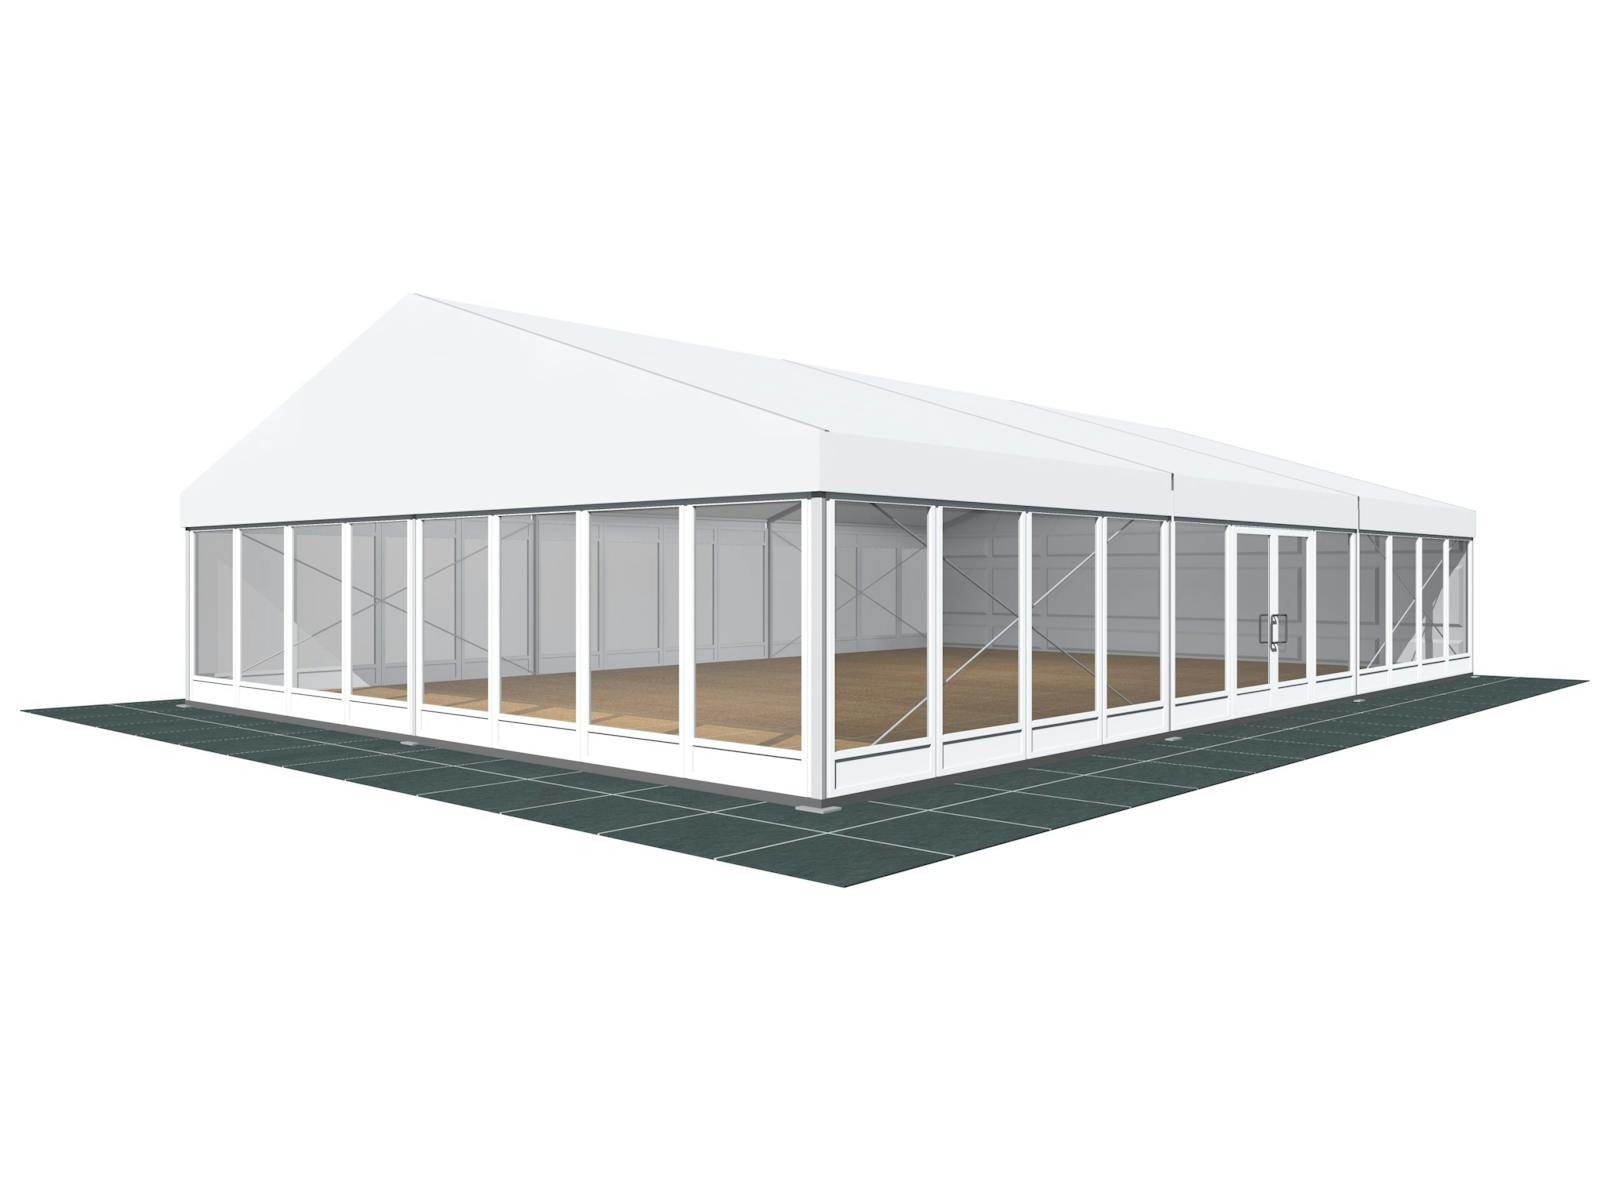
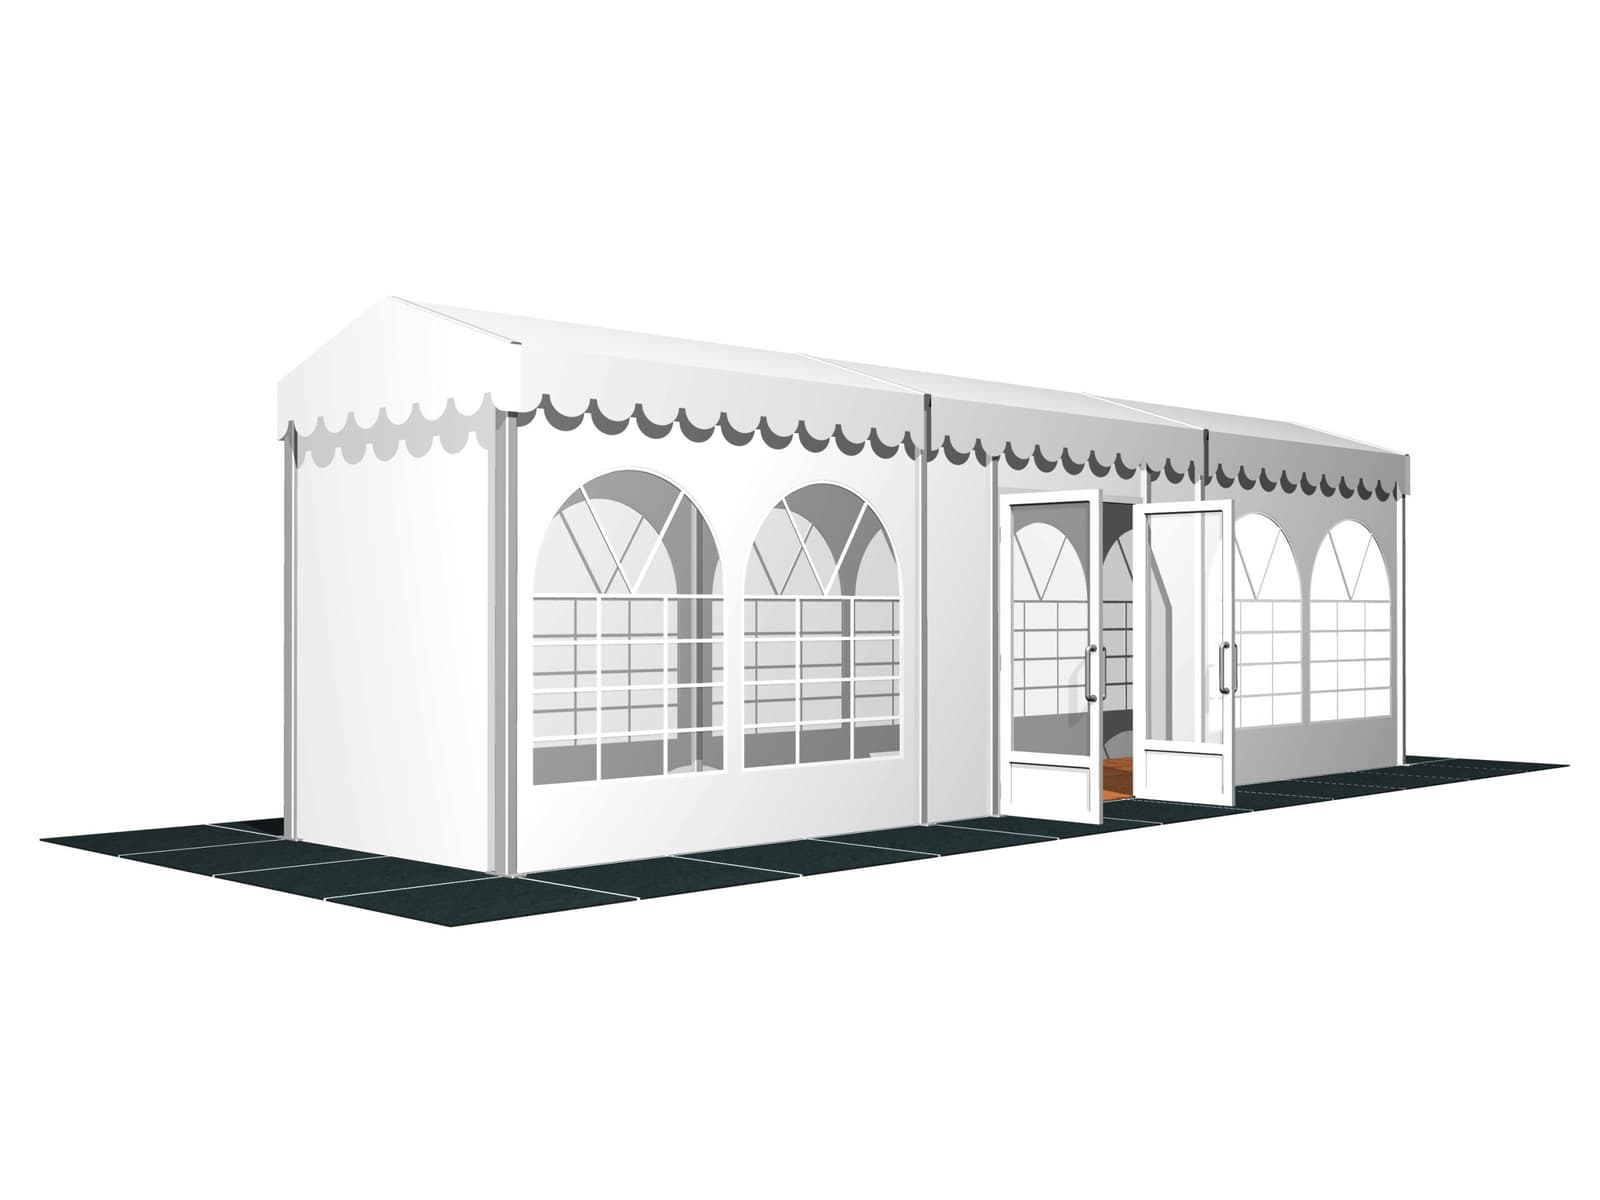
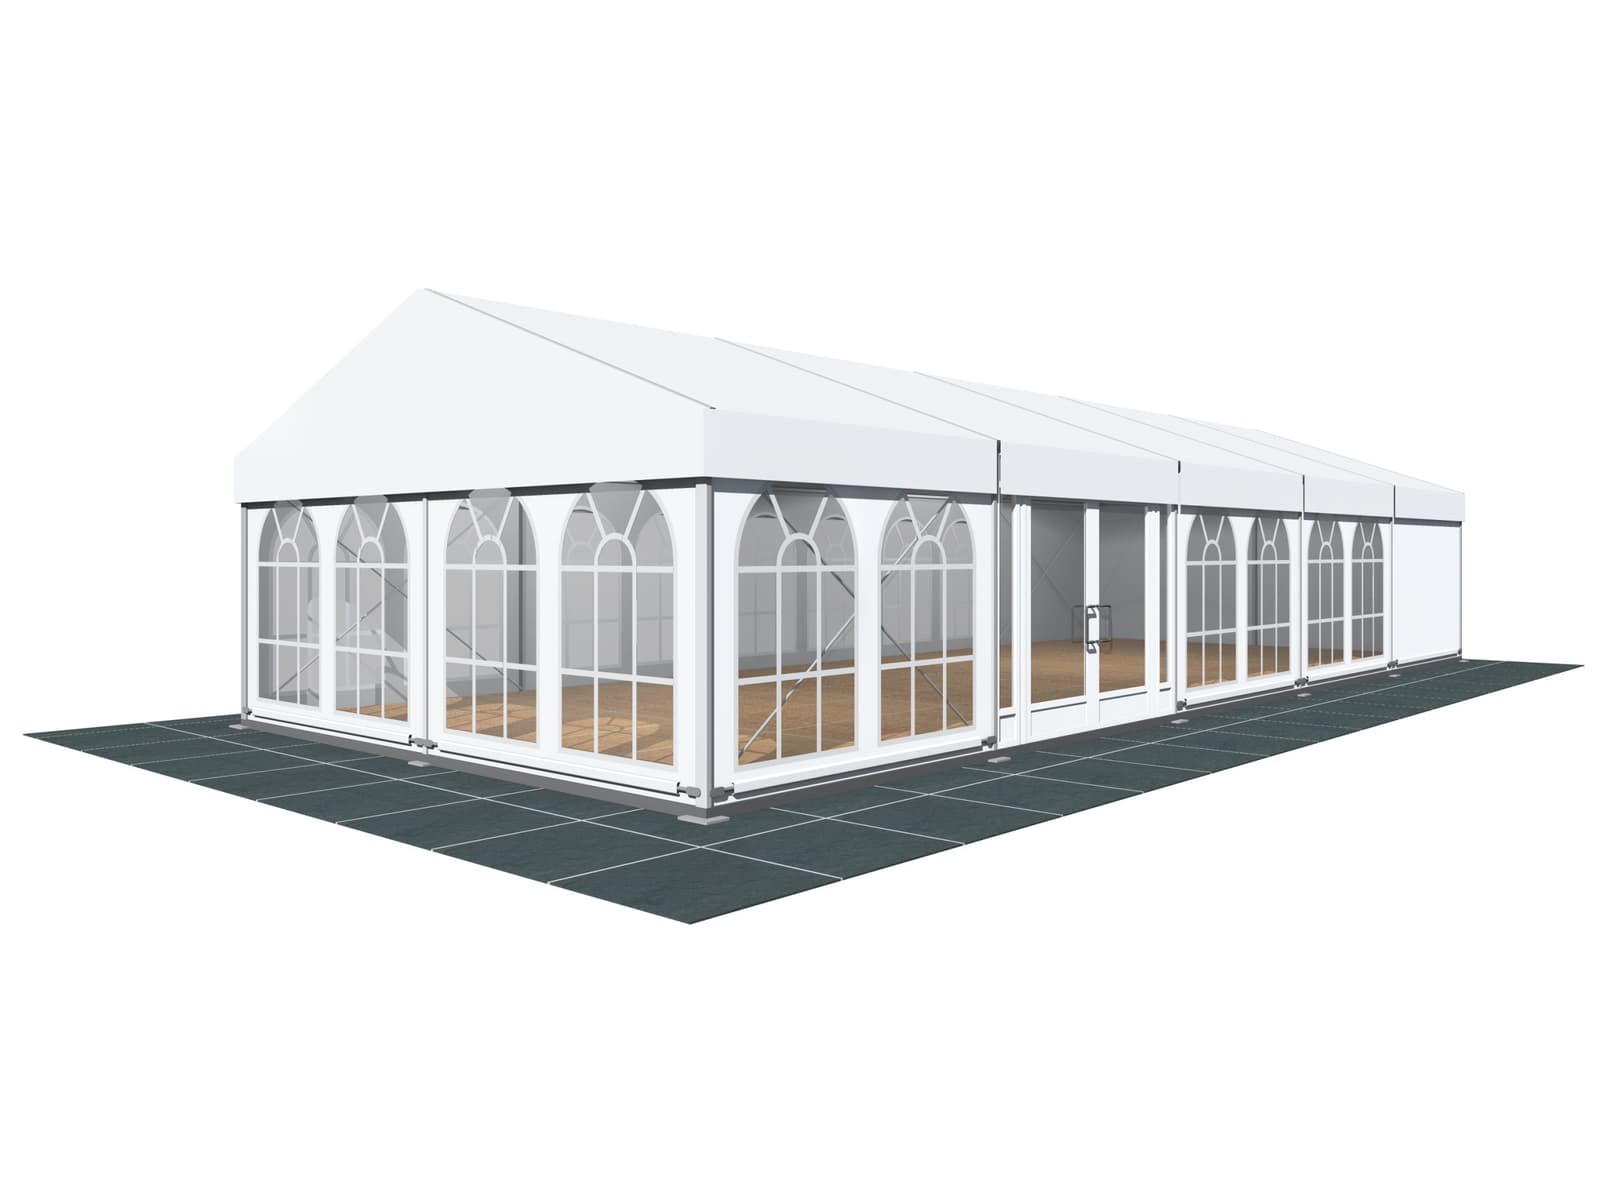
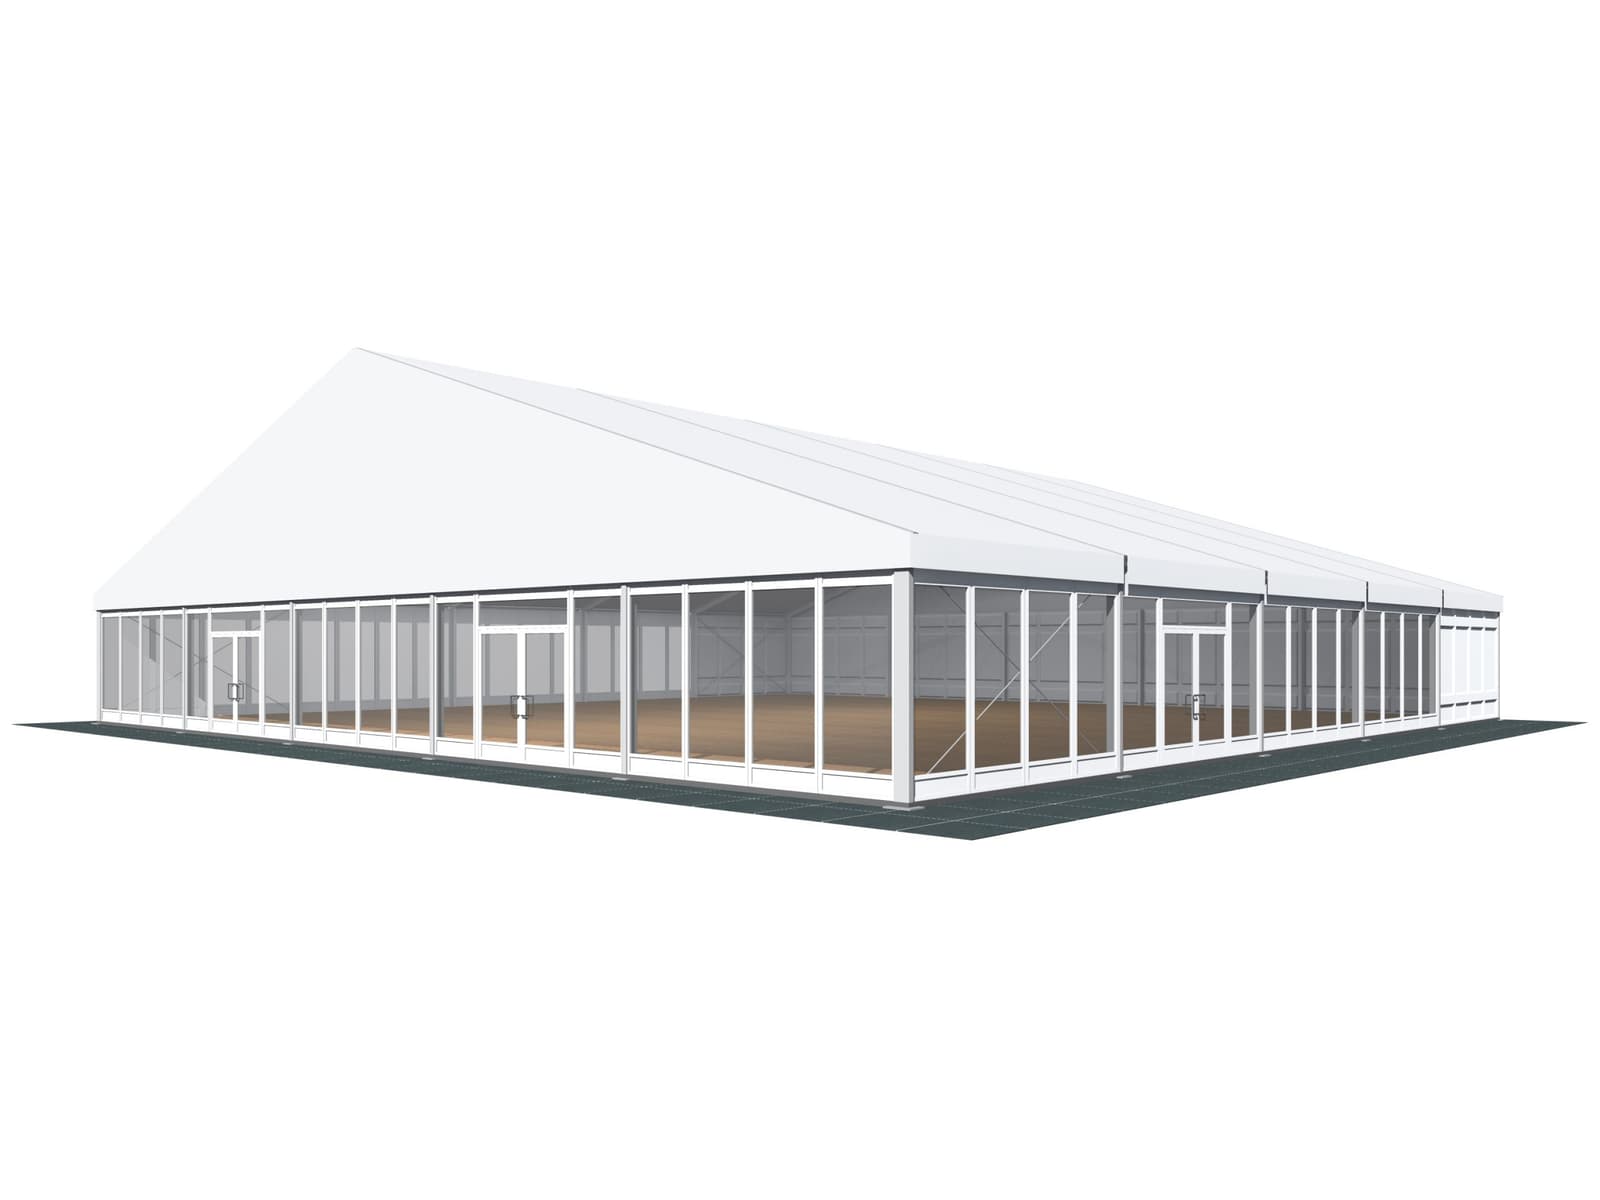
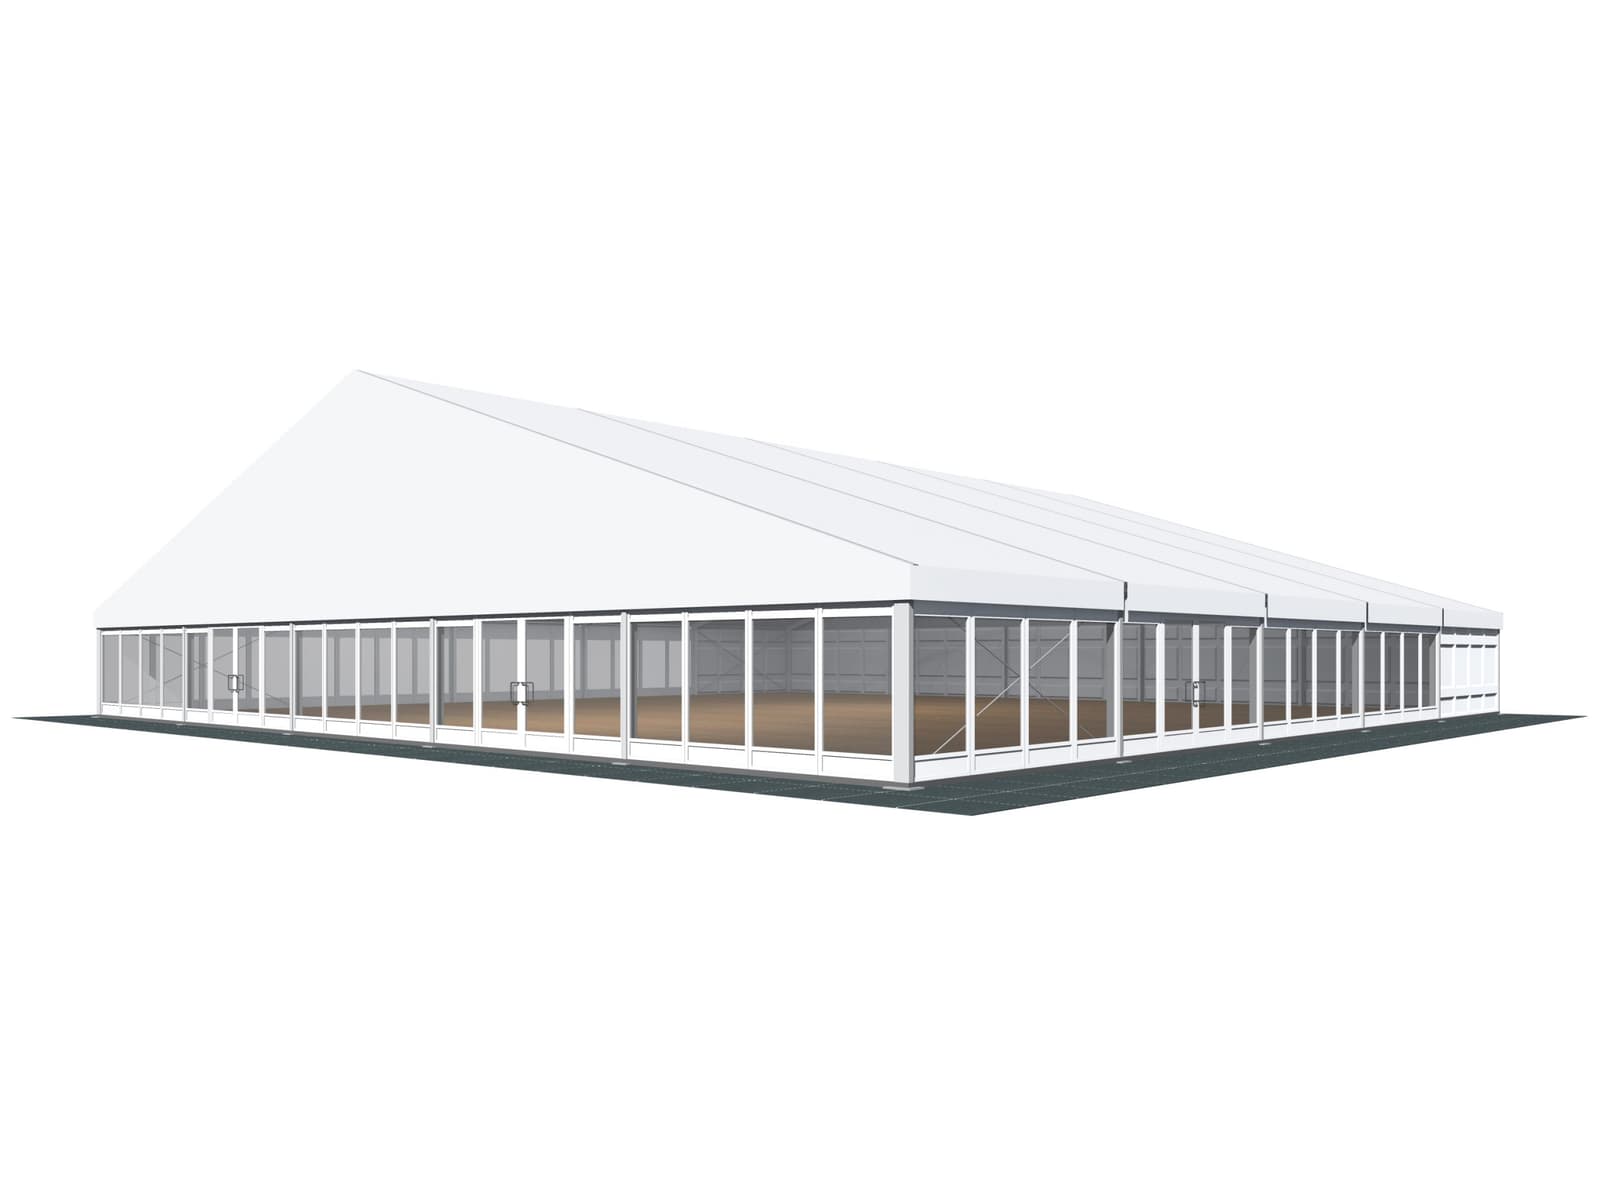
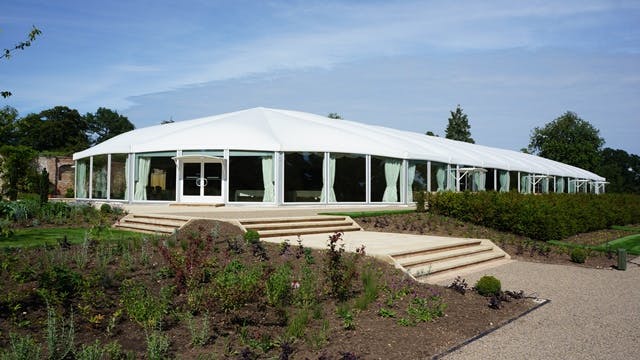
Overview of our marquees and party tents
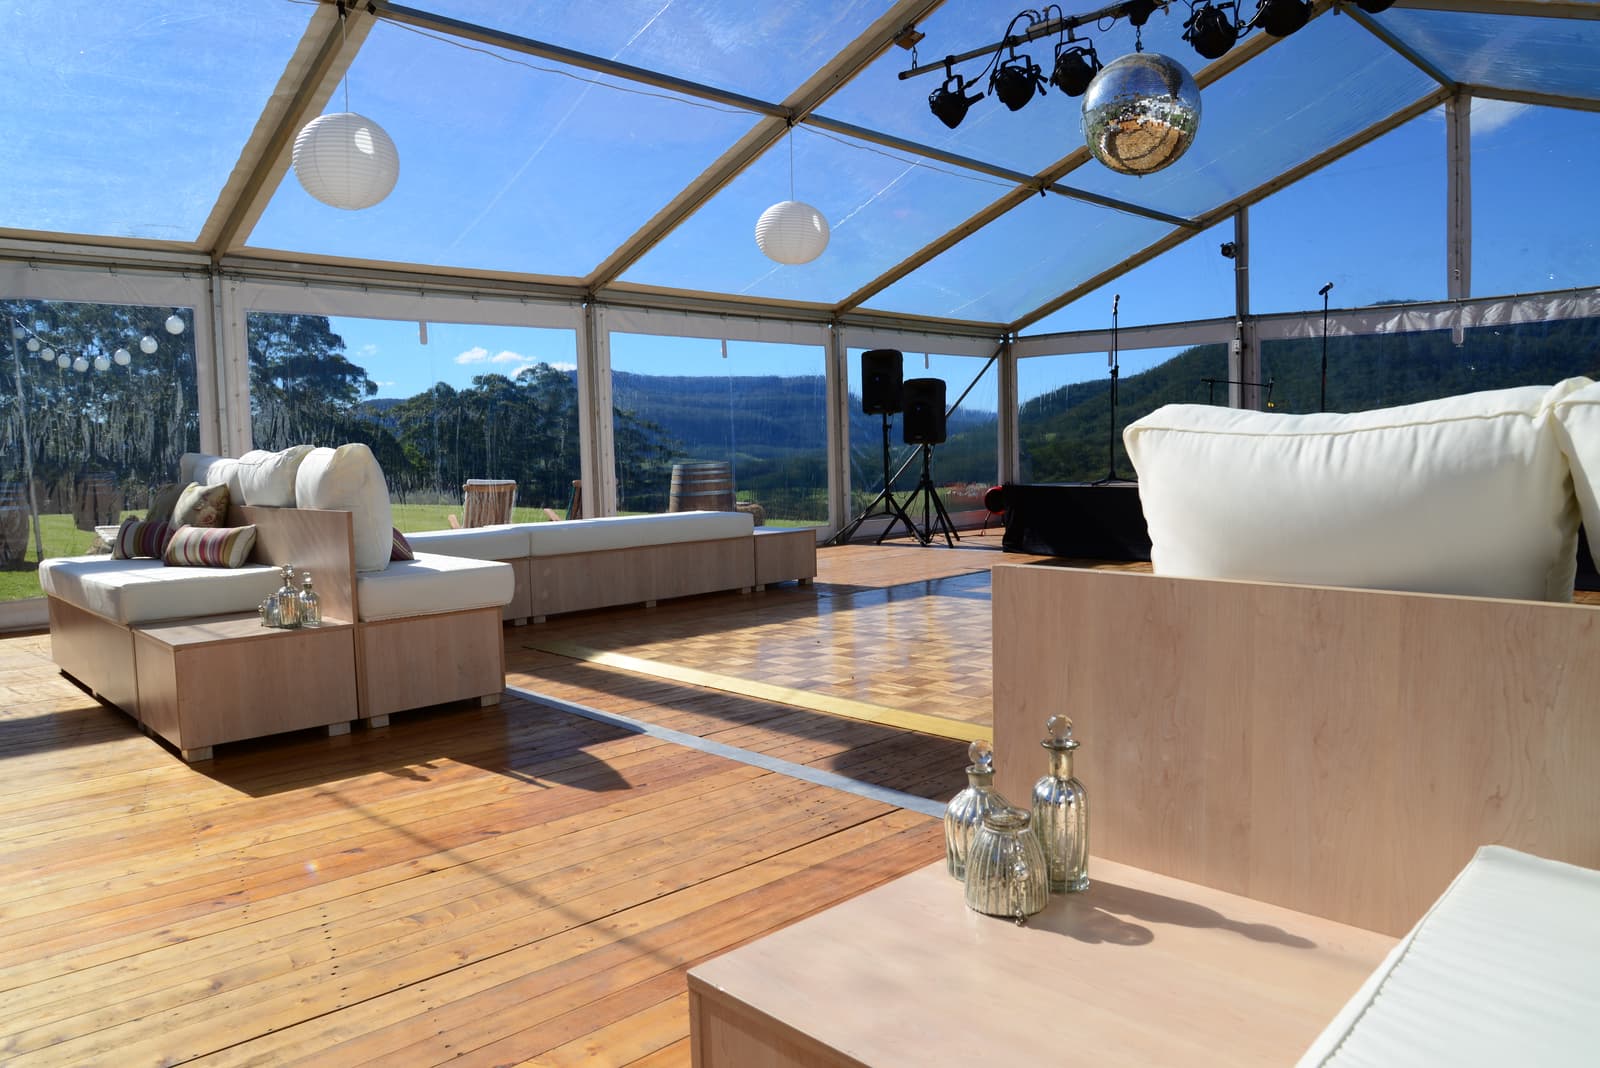
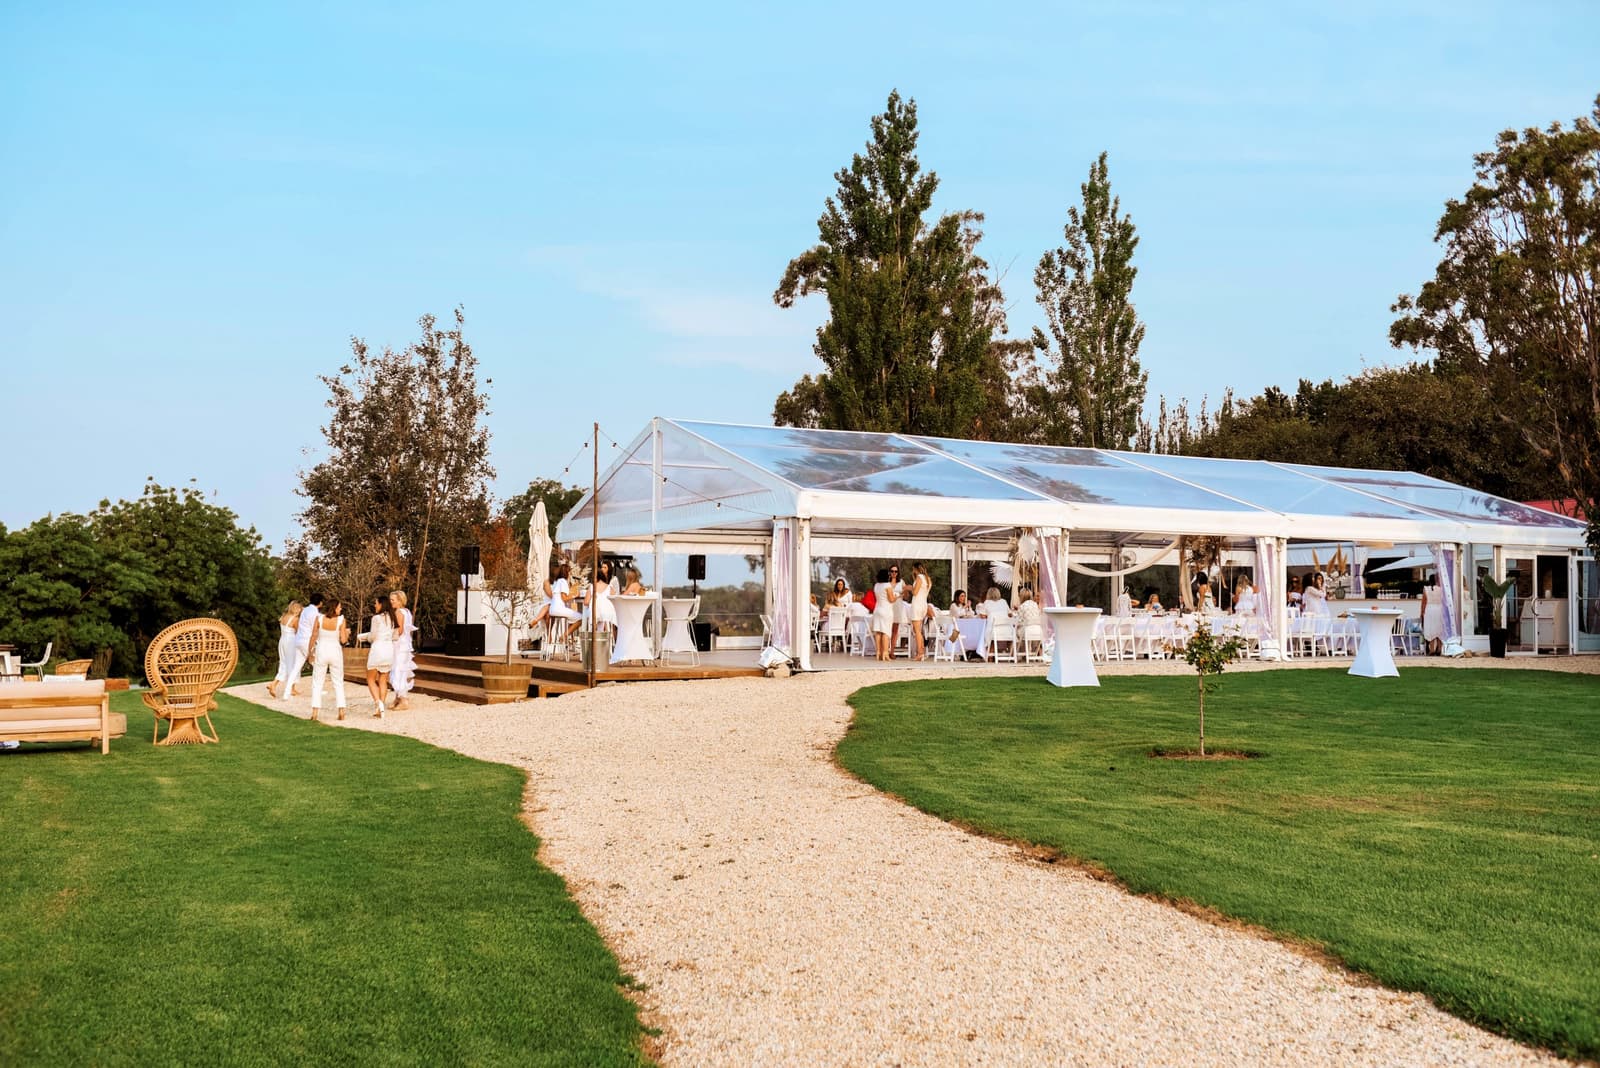
A perfect party tent or marquee can make any event an absolute highlight. From small, cosy garden parties in a party tent to weddings and celebrations in our large marquees with clear spans up to 60.00m; we have the ideal structure for every requirement.


So which party tent or marquee suits your event best? You can find all the information you need on how to choose the ideal event marquee in our handy product guide.
Add the right accessories to your party tent or marquee? Find out about HTS TENTIQ’s range of equipment and accessories.
Party tent assembly: build it yourself or get professional help
The decision as to whether you should set up your party tent yourself or rely on a professional depends on various factors:
- The size of your tent is a key factor. Small party tents are usually easy to set up whereas the assembly of bigger marquees is often more complex and may require heavy lifting machinery. If in doubt, it is better to let a professional set up your tent for the first time.
- The experience and skill of the people helping build is also crucial. If you feel confident in assembling a party tent and have enough people on hand, you can easily put it up yourself.
- Your time is also an important influence in the decision. If you only have a limited amount of time available or simply want to minimise the effort involved, we recommend using a professional assembly service.
Assembly and safety: professional tips from the manufacturer
Party tents and marquees from HTS TENTIQ are known within the outdoor event industry for their high stability and weather resistance properties. This is provided they are set up correctly. Although putting up event structures is not inherently difficult, it should always be assembled as instructed. Here are a few tips for easy assembly:
- Carefully read the instructions, including safety instructions and warnings, before you start the assembly process.
- Allow sufficient time and personnel for assembly.
- Follow the assembly instructions throughout the build.
- Only set up a party tent or marquee in good weather. Do not put up your structure during heavy rain, snowfall or storms.
- Proceed with caution during assembly to avoid damaging the tent or yourself
How long does it take to set up a marquee or party tent?
As a general rule the larger the tent, the longer it takes to set up. This is due to the higher number of frames to be assembled, as well as bigger, wider and heavier framework. The complexity of the structure also impacts the installation time. This includes additional equipment, doors and glazing.
When compared to party tents, a marquee assembly can take a few days to install, whereas a party tent can usually be installaed in just a few hours.
The tent equipment also has an impact on the assembly time: the more equipment and accessories you have, the longer it takes to assemble.
What you need for setting up your marquee or party tent
Marquee installation requires specific tools and aids to safely and correctly put up your structure. With the purchase of any party tent or marquee, HTS TENTIQ include a 5.00m measuring pole, a purlin fork, a push up pole and a locking off bar.
Additional tools to have on hand during any marquee installation:
- 3 throw-over ropes with carbine hooks (load-bearing capacity of 250kg+)
- 2 ratchets or spanners
- 2 ladders
- 1 crowbar
- Squared timber beams in various lengths and thicknesses for substructure
- 2 sledgehammers or other hammering tools for ground anchors
- 1 measuring tape
- 1 pipe wrench
- 1 fitter’s hammer
- 1 spirit level
- 1 string twice as long as the tent
For large marquees, you can also use a forklift truck with telescopic boom and work basket for assembly and dismantling. A stake puller is also helpful for dismantling.
In addition to the list of tools, you will also need enough people to set up the marquee. The optimum number of people depends on the size and complexity of the structure. As a guideline, 3 to 4 people are typically required to build a party tent and 6 to 8 people for setting up a larger marquee. Make sure the various tasks involved in setting up are distributed among the team building the marquee beforehand. This way, the set-up process is more structured, and each person is aware of their role.
Celebrations such as weddings, parties, ...
Step-by-step guide to set up marquees and party tents
No matter how large or small the marquee, you need to plan the build process in detail. To make assembly easier for you, we have put together a step-by-step guide for setting up a HTS TENTIQ party tent.
1. Choose location and plan assembly
Before starting to assemble the marquee and bringing all the materials to the respective site, you should take a close look at the location. Choose a flat, level surface. The slope must be less than 1%, otherwise additional floor packing/leveling is needed.
2. Unpack and pre-sort the tent’s individual parts
Once you have decided exactly where the structure is to be located, you can unpack and prepare all the components. Use the instructions to check that all components are present and group them together. This will save you time when searching for the right components during the build.
3. Set up the structure‘s orientation
To align the structure perfectly, use your surroundings such as the street layout or building fronts as a guide for basic dimensions. This orientation front is an important aid when starting to put up the framework.
You should also use a string that is at least twice the overall length for alignment. Align the entrance to best suit your requirement.
Now start laying out the first baseplate on the orientation front and fix it in place with suitable anchors. Then install the second baseplate on the orientation front. Then lay out the third baseplate at the width of the structure. You can now lay all the remaining baseplates.
The baseplates can have a substructure of a few centimetres to compensate for uneven floors and have an outer and inner side. Correct positioning is vitally important for safe and efficient assembly. If the wrong baseplates are used, are positioned incorrectly or too small anchors are used; further assembly can be jeopardised and major hazards can arise.
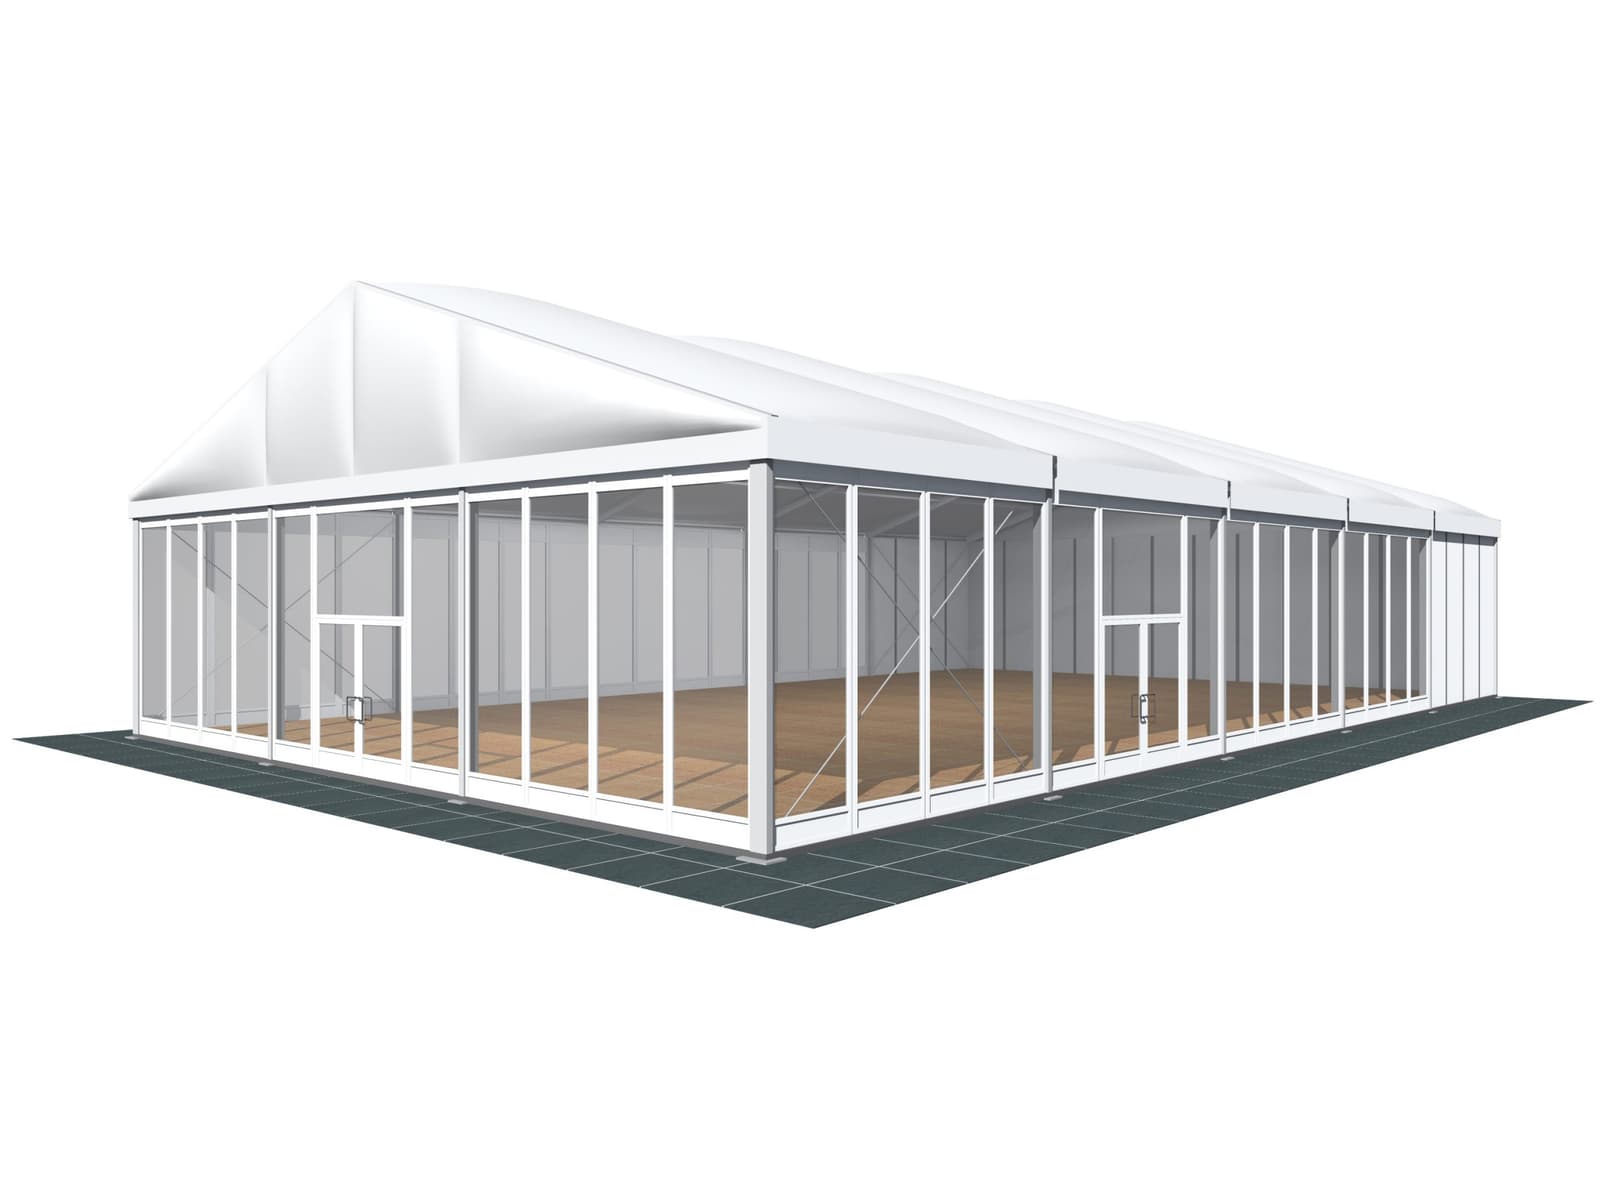
4. Assemble the frame
Lay out all components clearly to start setting up the frame. You should pay particular attention to the correct installation of the wind bracing as it provides stability and must be positioned precisely. It is essential that wind bracing is installed in the first and last bay of your frame. Additional reinforcements should be included at regular intervals between the first and last bay to ensure your frame remains stable even in windy weather. Further wind braced bays may be needed depending on the overall size of the structure.
Next, extend the roof beam and connect them to the uprights. Connect the roof beams to the ridge connectors and attach the uprights to the baseplates. The wind bracing is then attached to the uprights. This enhances the stability of the structure in strong winds. It is important to note that the incorrect installation of wind bracing can be very dangerous.
Afterwards, the two gable uprights are fitted to the roof beams. The A-frames are then erected and fixed in place with the baseplates, starting with the outermost frame. The number of A-frames depends on the length and type of marquee. For our party tents, the distance between A-frames is 3.00m, for large marquees 5.00m. Wind bracing can now be fitted to the uprights. At the very end of the frame assembly, cross rails are mounted between the gable uprights.
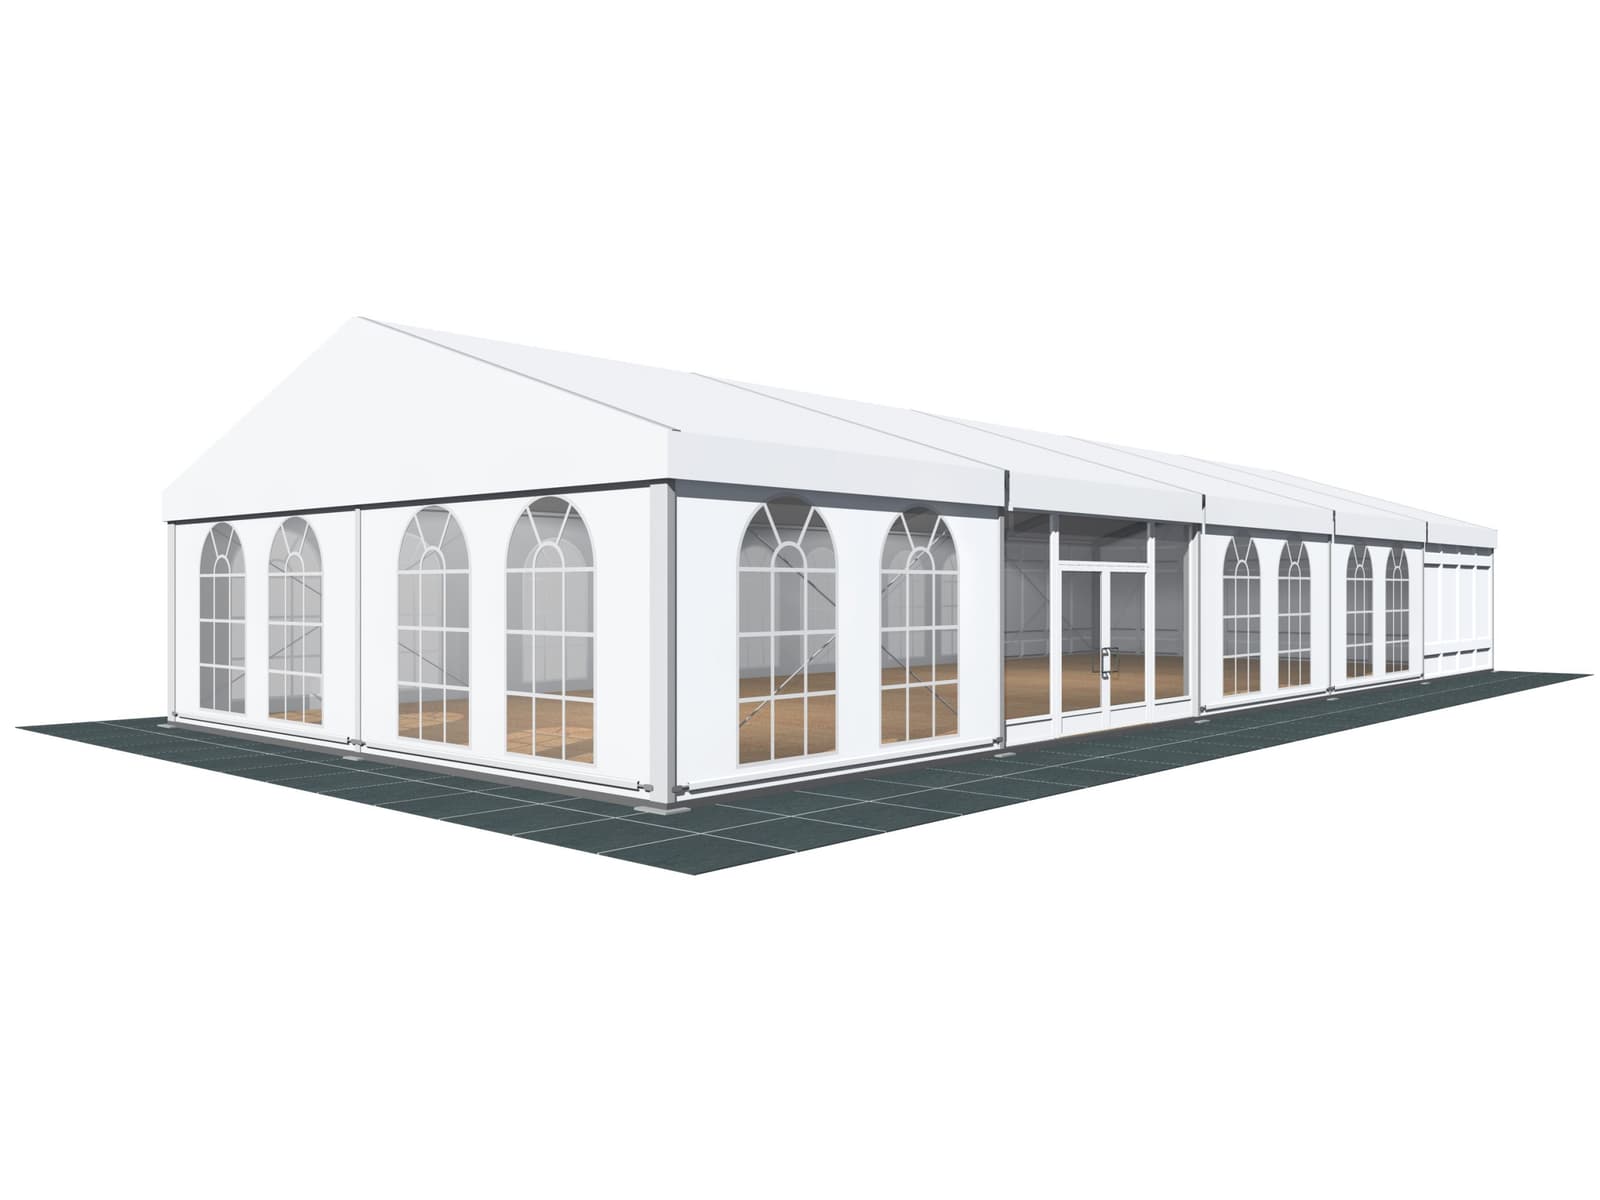
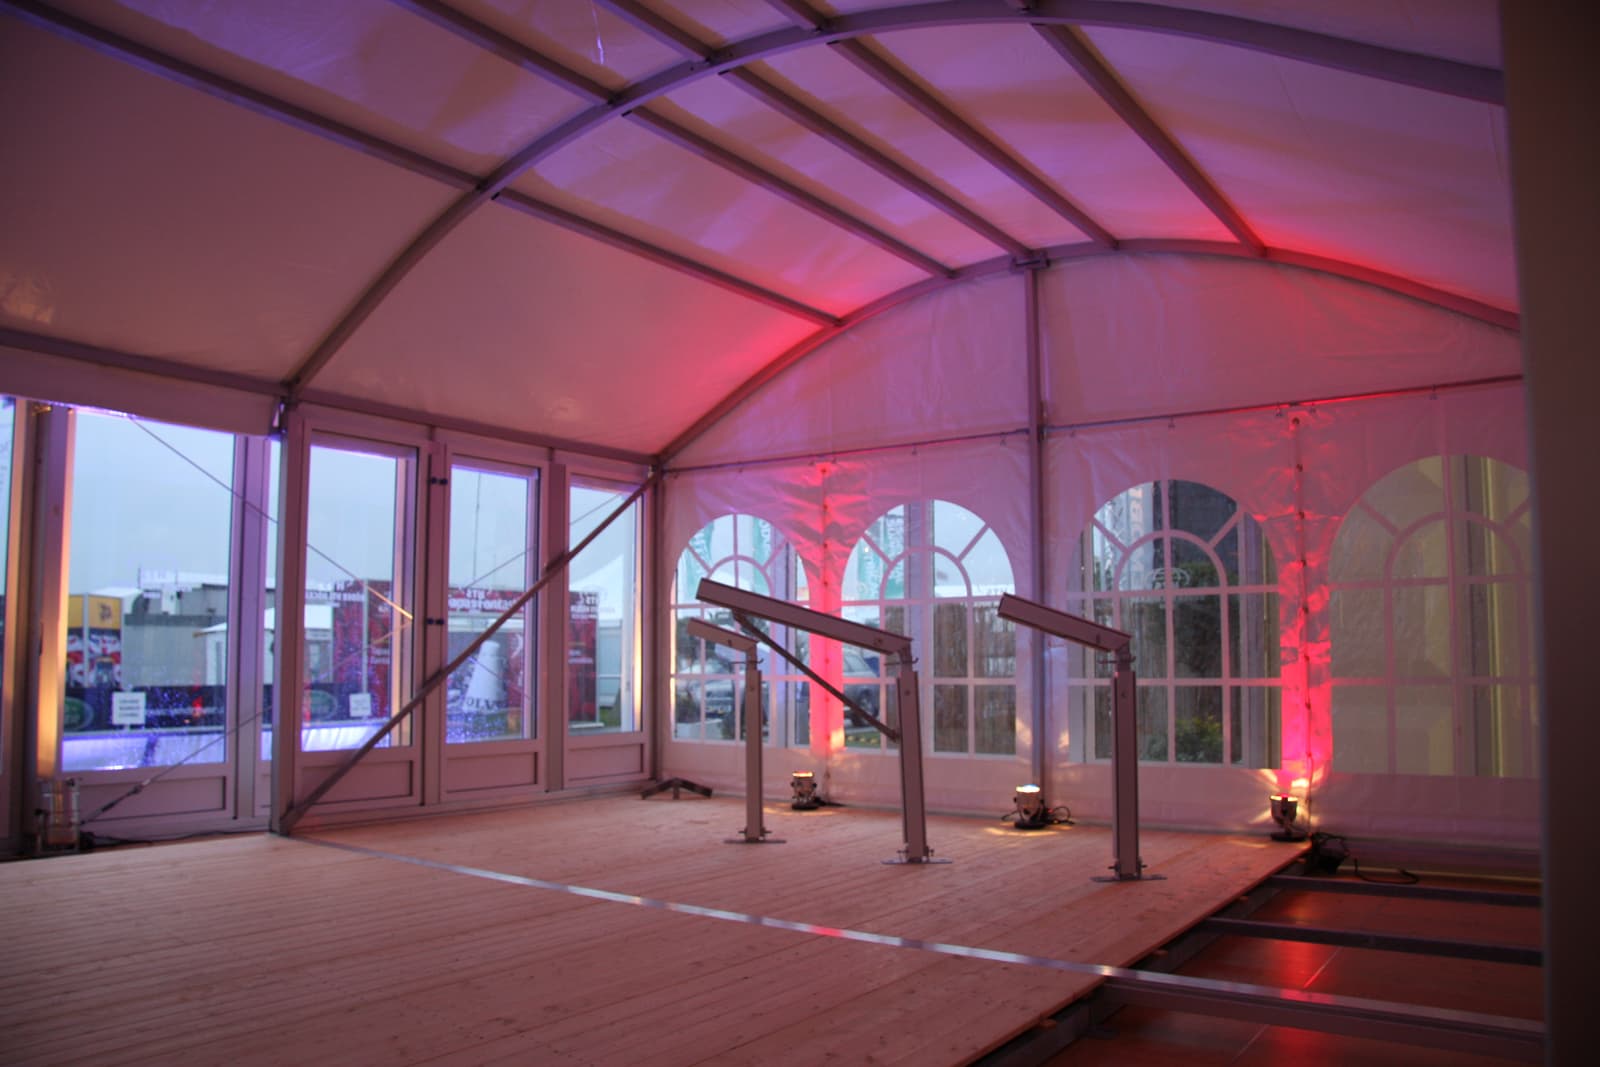
5. Assemble roof and side walls
The next step is to start pulling in the roof covers row by row through the keder channels using rope lengths. Finally, fix the roof cover on the outside. After the roof covers are installed, the two gable ends are pulled in and attached using the same process. You can now fit and secure the side walls.
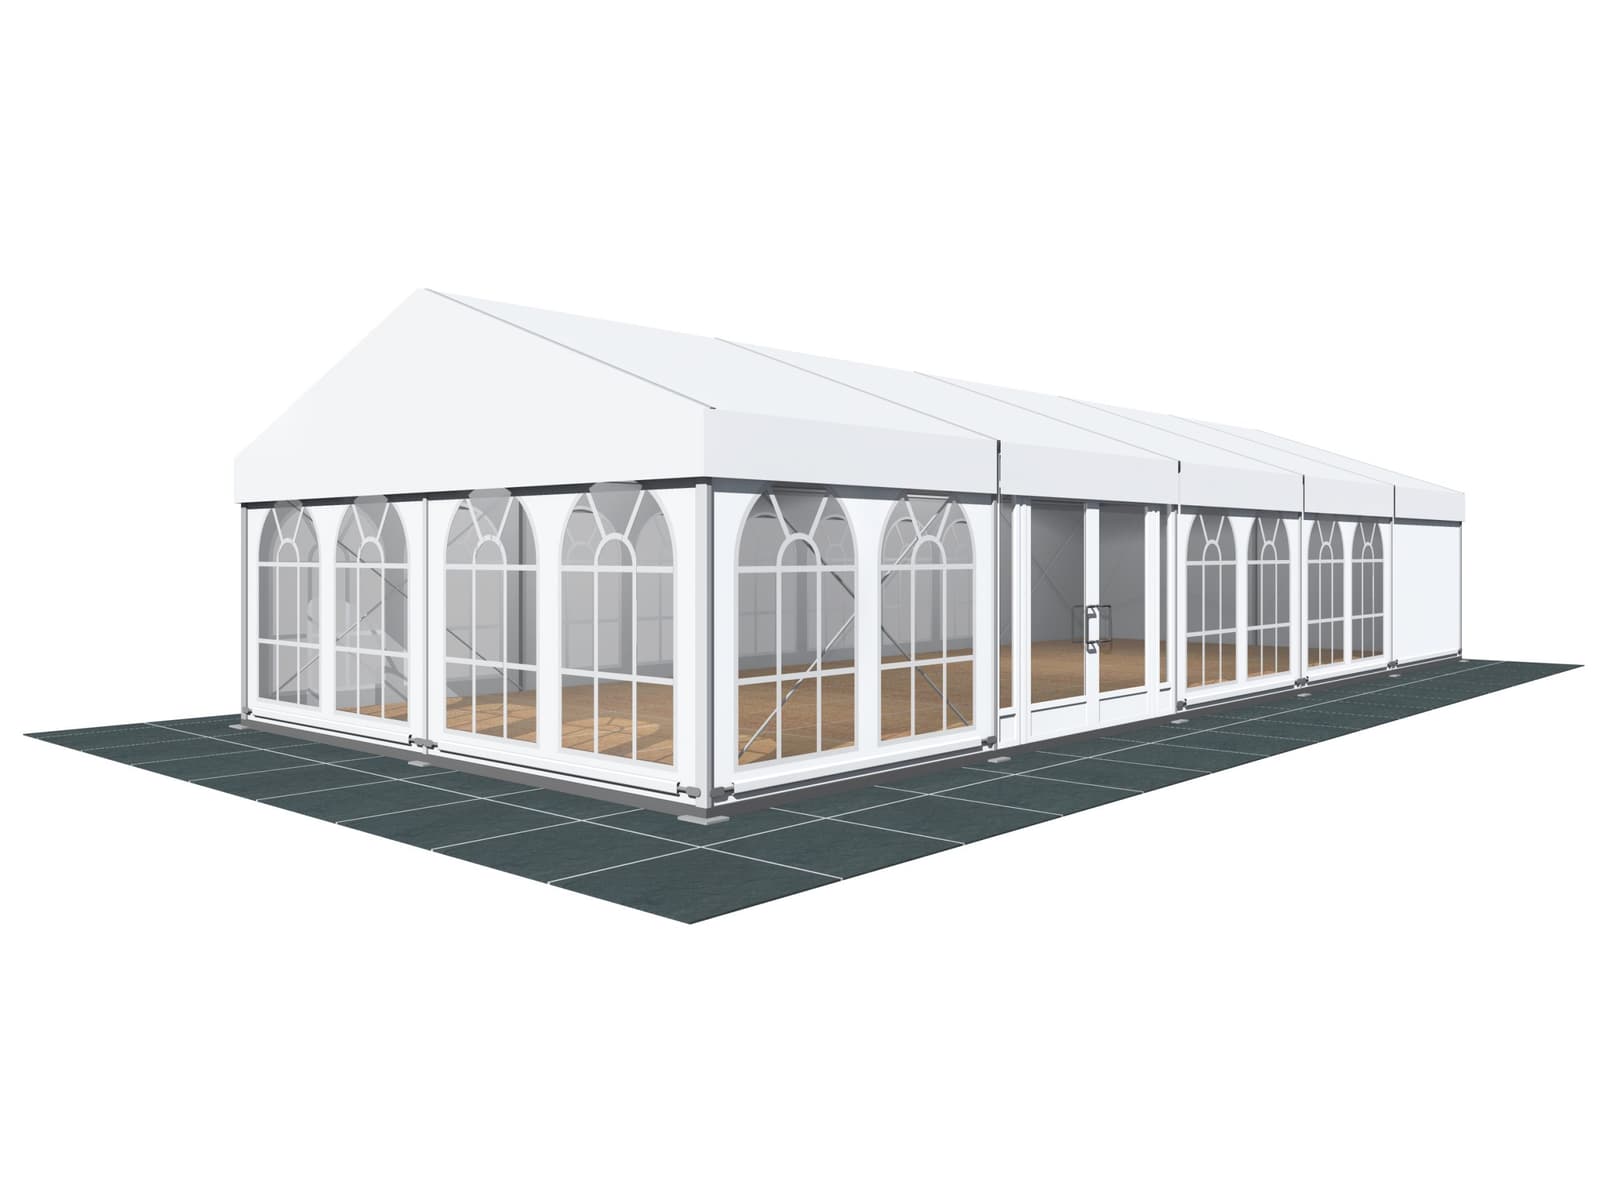
6. Install doors and ramps
In order to be able to install doors and ramps, you first have to attach the door post (otherwise known as a ‘false leg‘) complete with bracket. Once completed, you can install the doors. Make sure that the doors open outwards when fitting them. If required, the ramps can now be built.
Want to get in touch with us? Simply use our contact form – this is the fastest way to contact one of our team of experts.
Dismantling your party tent
If you want to dismantle your party tent, go through the assembly steps in reverse order. Start by disassembling the ramps and doors and end by dismantling the base plates.
You will also need qualified people to dismantle the structure. This ensures the safety of all components and personel as well as reducing the dismantling time. When disassembling, pay attention to components under tension, especially the wind bracing. Incorrect dismantling can make the structure unstable and can cause injury. Do not release the tensioned wind bracing until the stability of the remaining components has been ensured. Weather conditions are also important when dismantling. The tent should never be taken down in stormy weather.
When disassembling, also check whether individual components are damaged and need to be repaired or replaced. Our guide will show you how you can repair minor damages in your PVC marquee covers yourself.
You can remove dirt from the covers using a soft sponge with mild soap and lukewarm water. This will not only extend the lifespan of your marquee but also bring them back to factory new condition. After cleaning, allow roof or side covers to dry thoroughly and only when completely dry can the covers be folded and stored. This is to mitigate mould growth.
Once the party tent has been dismantled, it is important to properly store the individual components. The best way to do so is to use our specially designed transport frames and PVC storage boxes. They provide the ideal protection for all components of your marquee and ensure that it can be used for a wide variety of events for a long time. If you are transporting the dismantled party tent by lorry, it is essential to observe the maximum weight limit of the vehicle. Once your party tent has arrived in the storage room or warehouse, the storage conditions are essential. To avoid damage, a party tent must always be stored in a dry place.
Conclusion: build your party tent or marquee in just six steps
Setting up a party tent or marquee requires careful planning and precise work. However, with clear assembly instructions, a few helpful tips and a little practice, you will be able to build your new structure in no time at all.
For easy assembly, detailed instructions are provided when you purchase an HTS TENTIQ event tent from us. Once set up, you can find valuable tips on creating the perfect indoor climate in our expert guide articles.