.jpg&w=1600&q=75)
Party tent setup: practical tips and assembly instructions for festival tents and party tents
Erecting a party tent or a marquee does not have to take long or be difficult. On the contrary: with a few tips and clear expertise, assembling your event building is straightforward.
To turn your next outdoor event into an unforgettable occasion, we show you with our party tent assembly expertise how to safely and professionally assemble your tent.
Our party tents and marquees at a glance
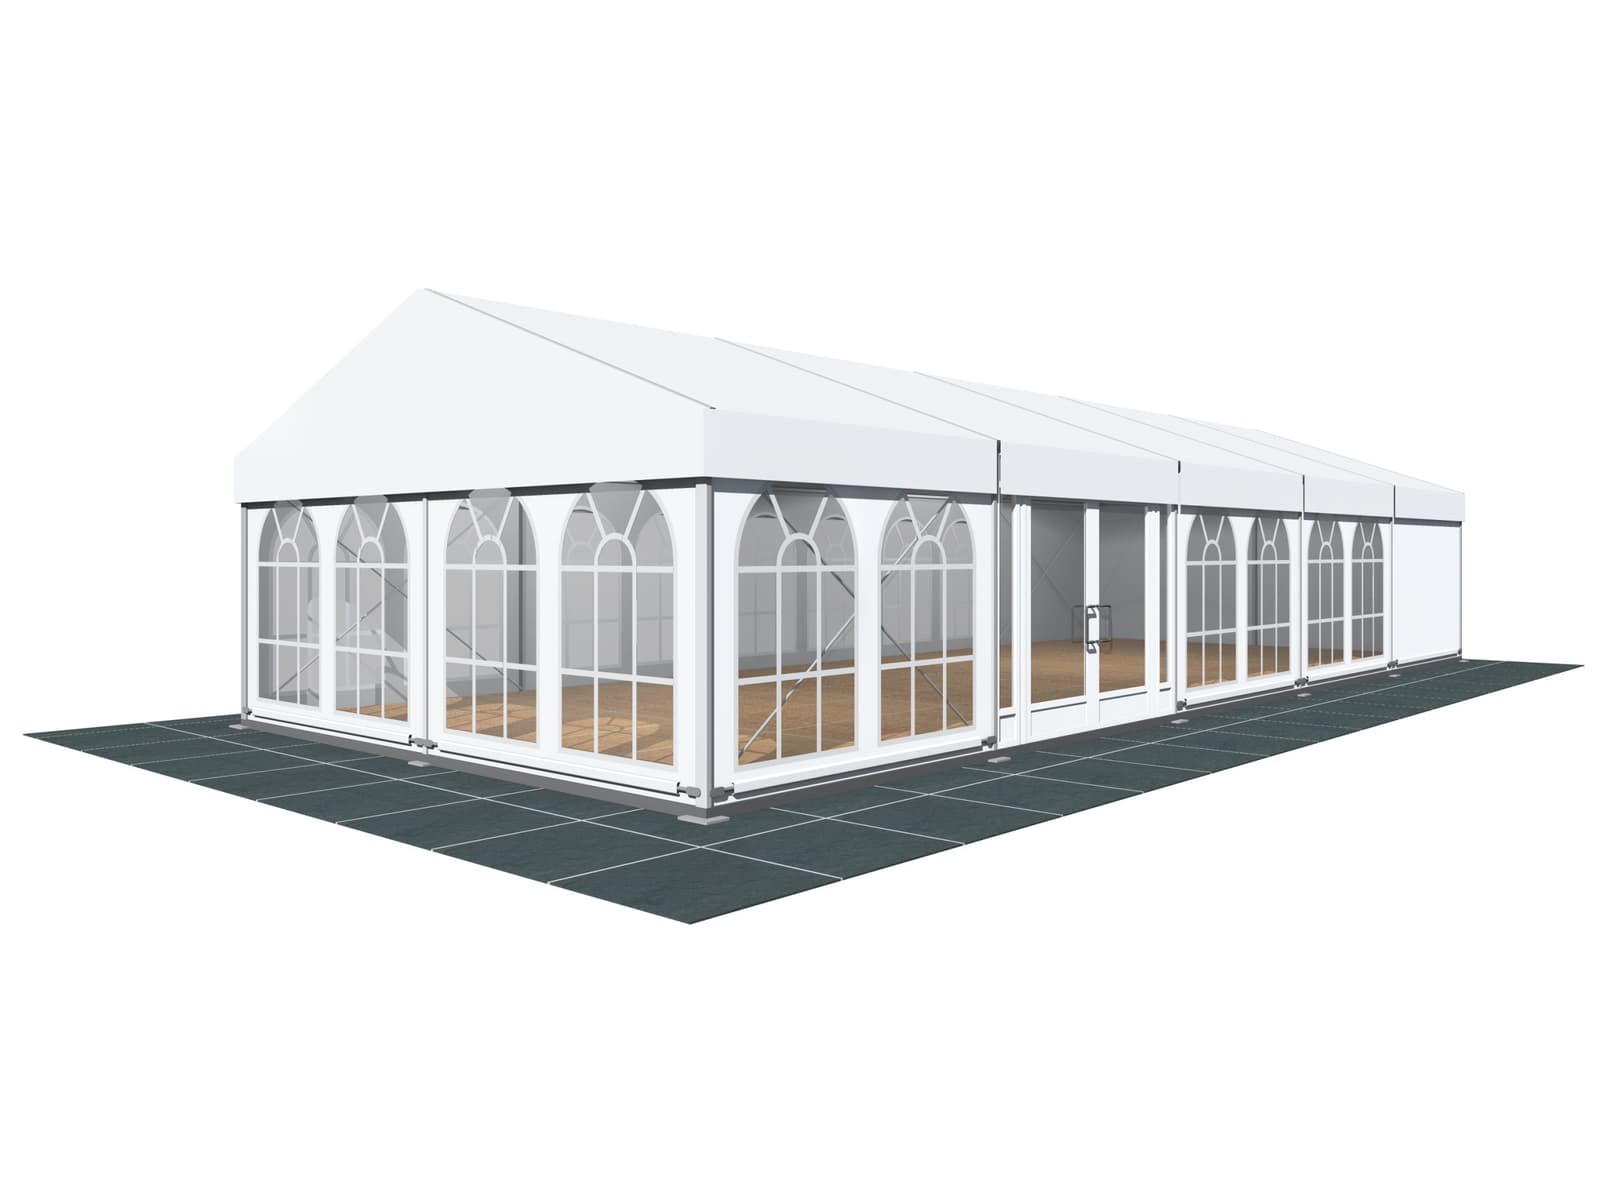
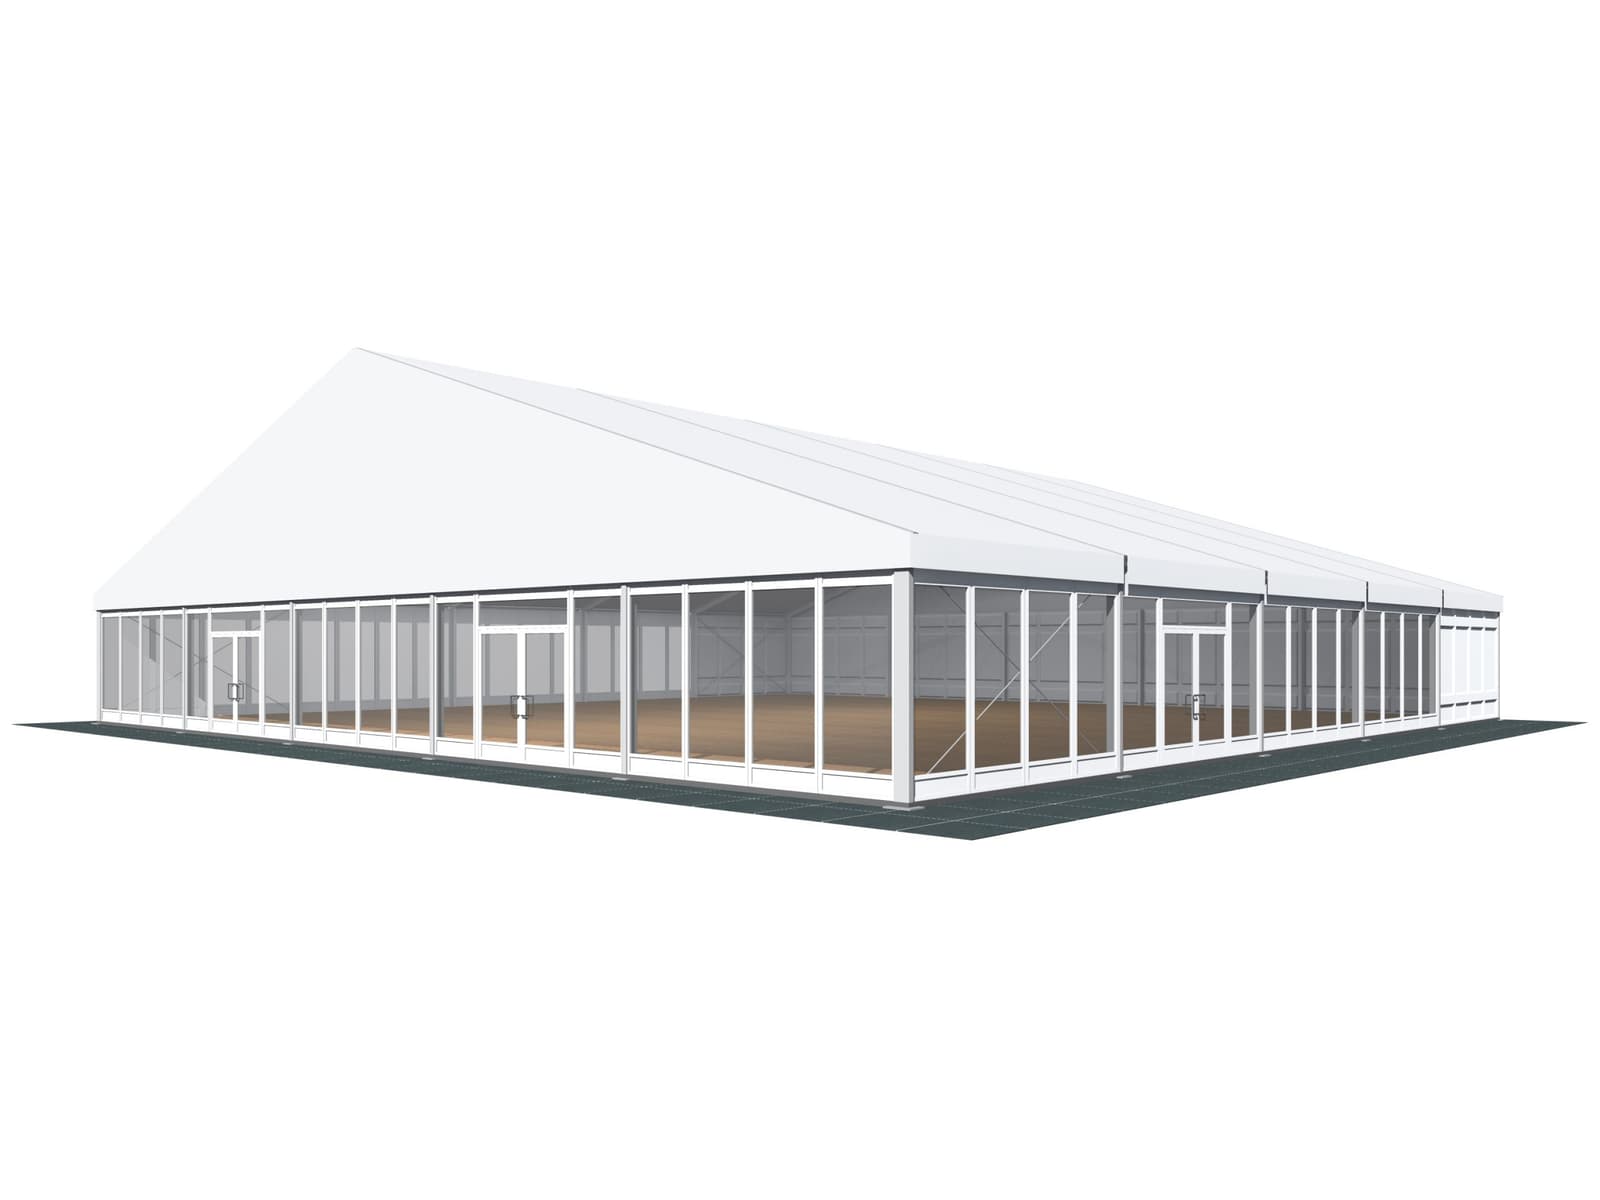
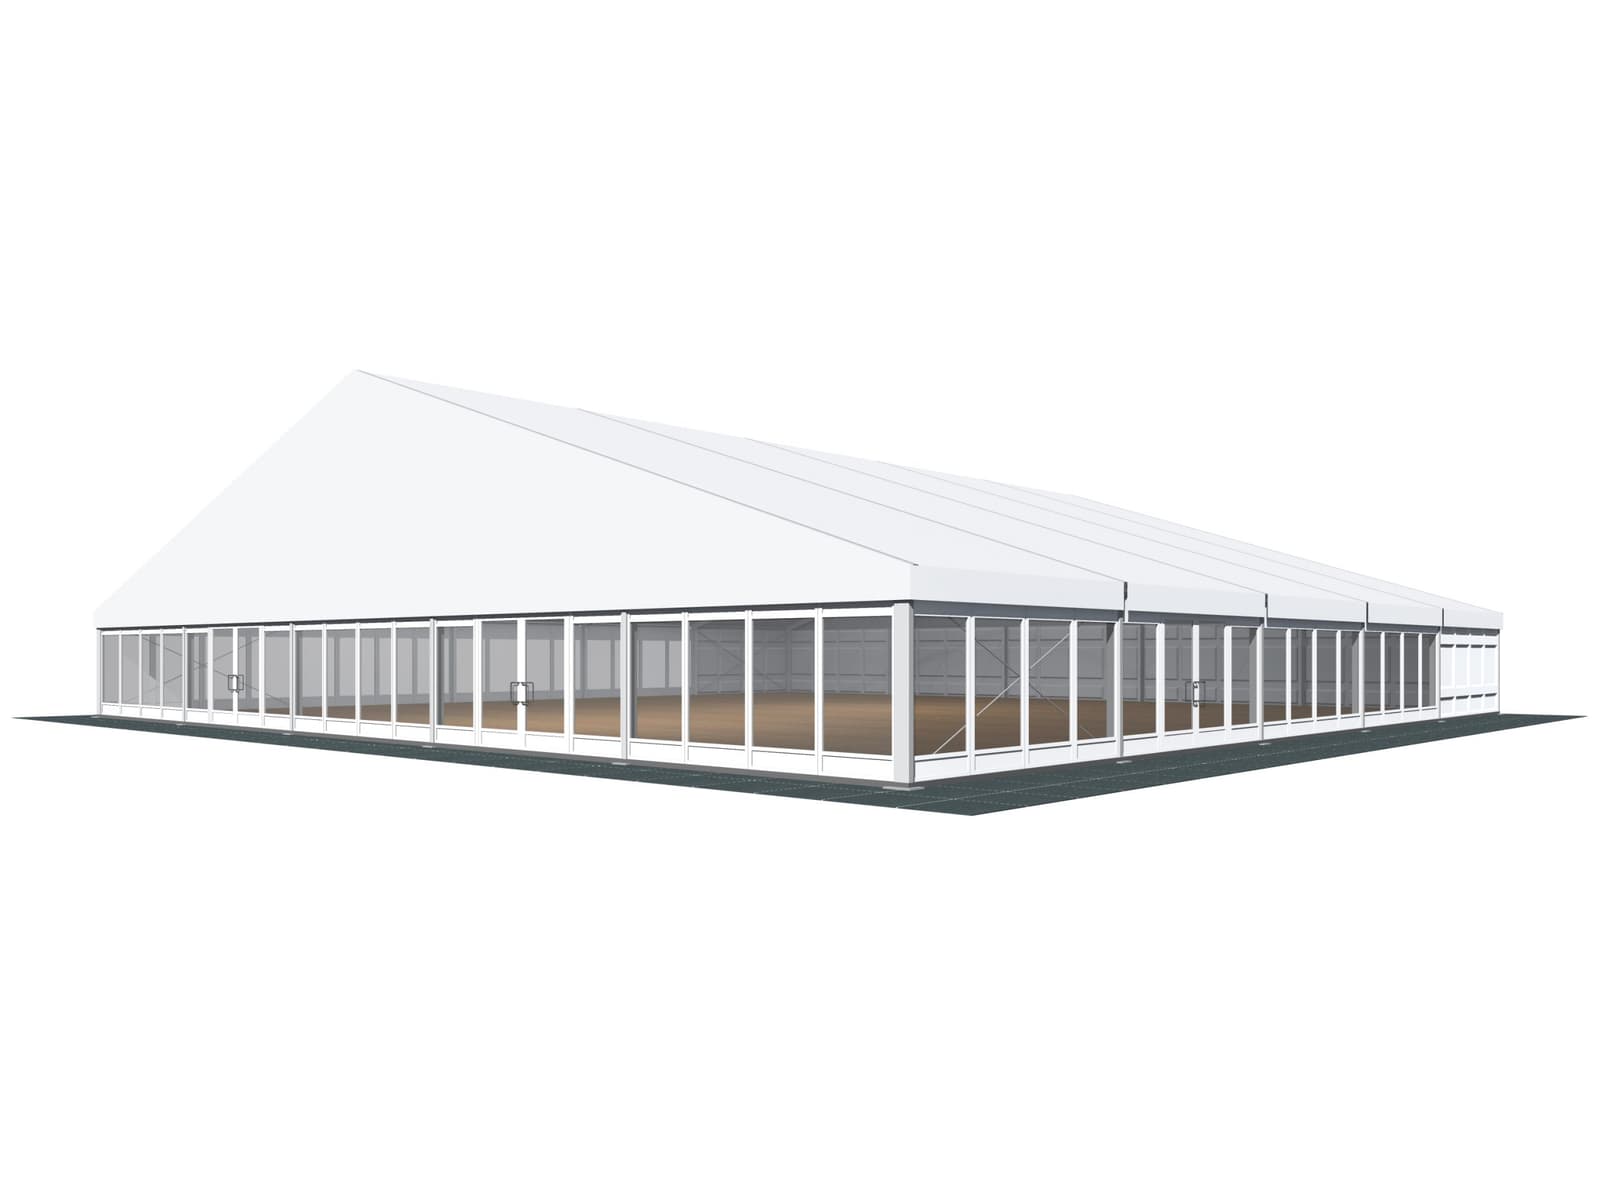
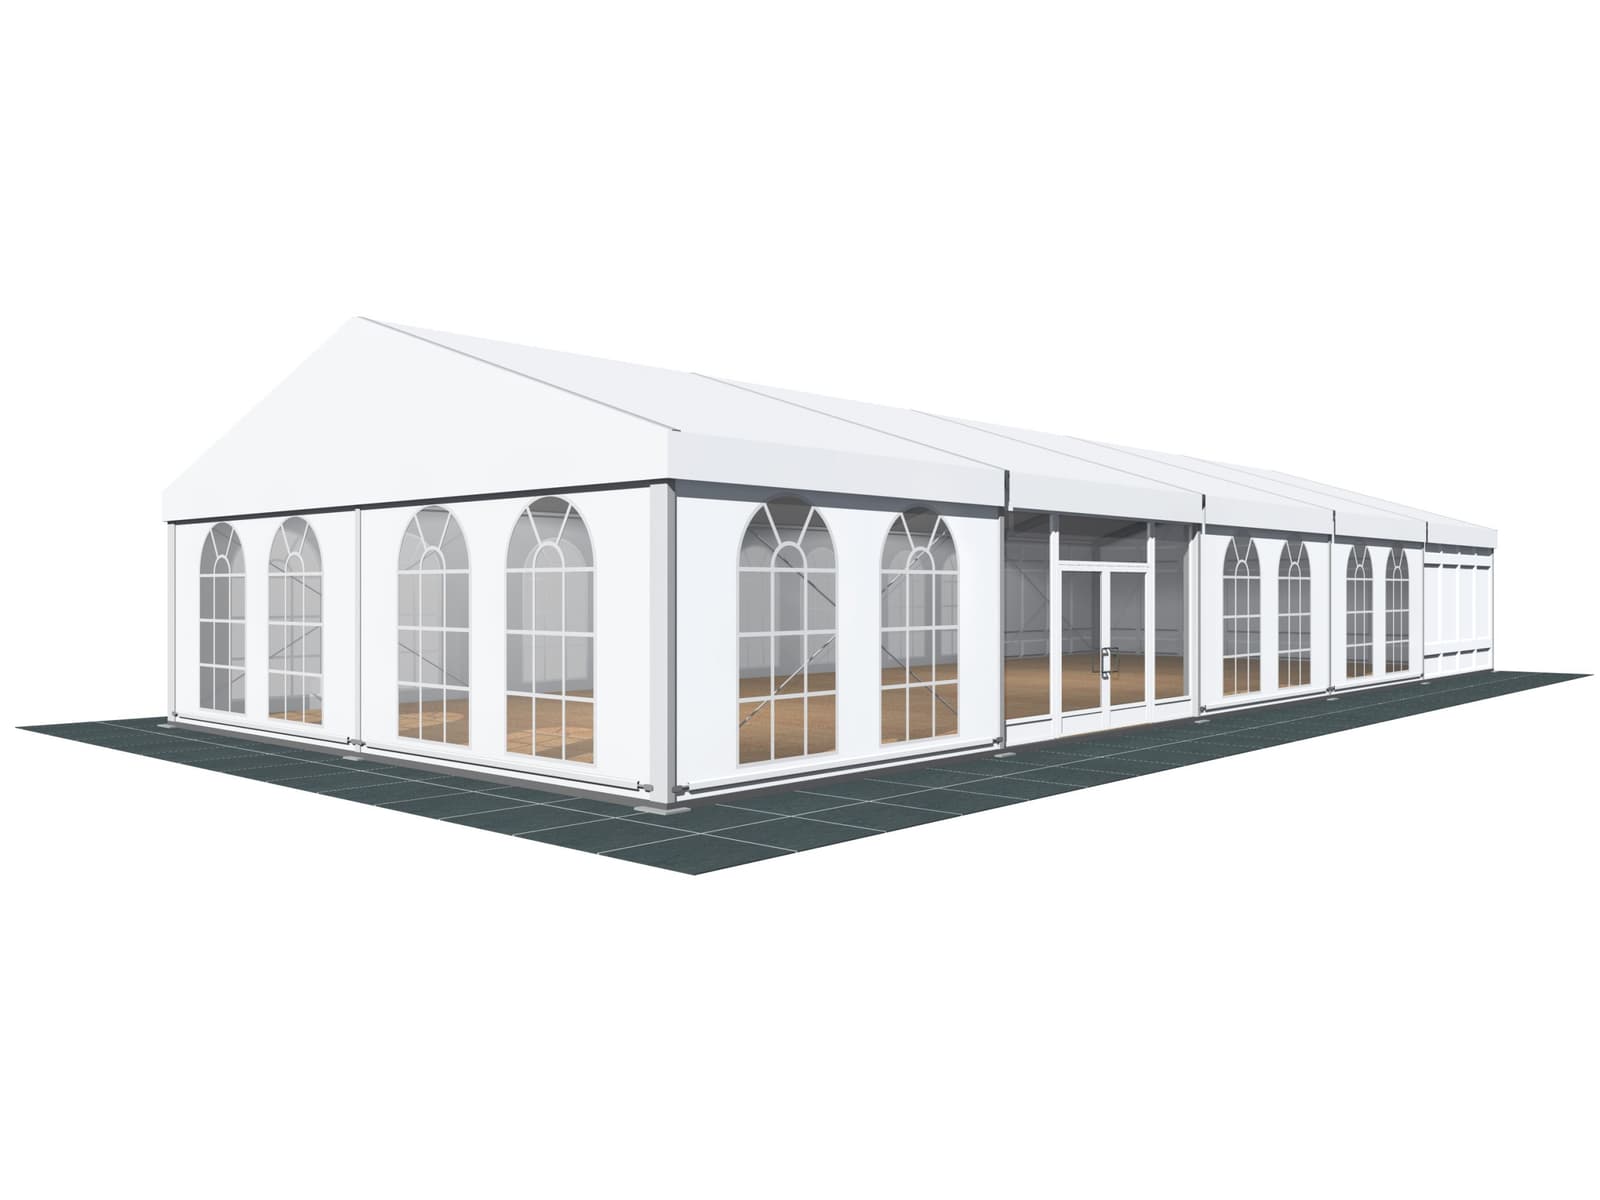
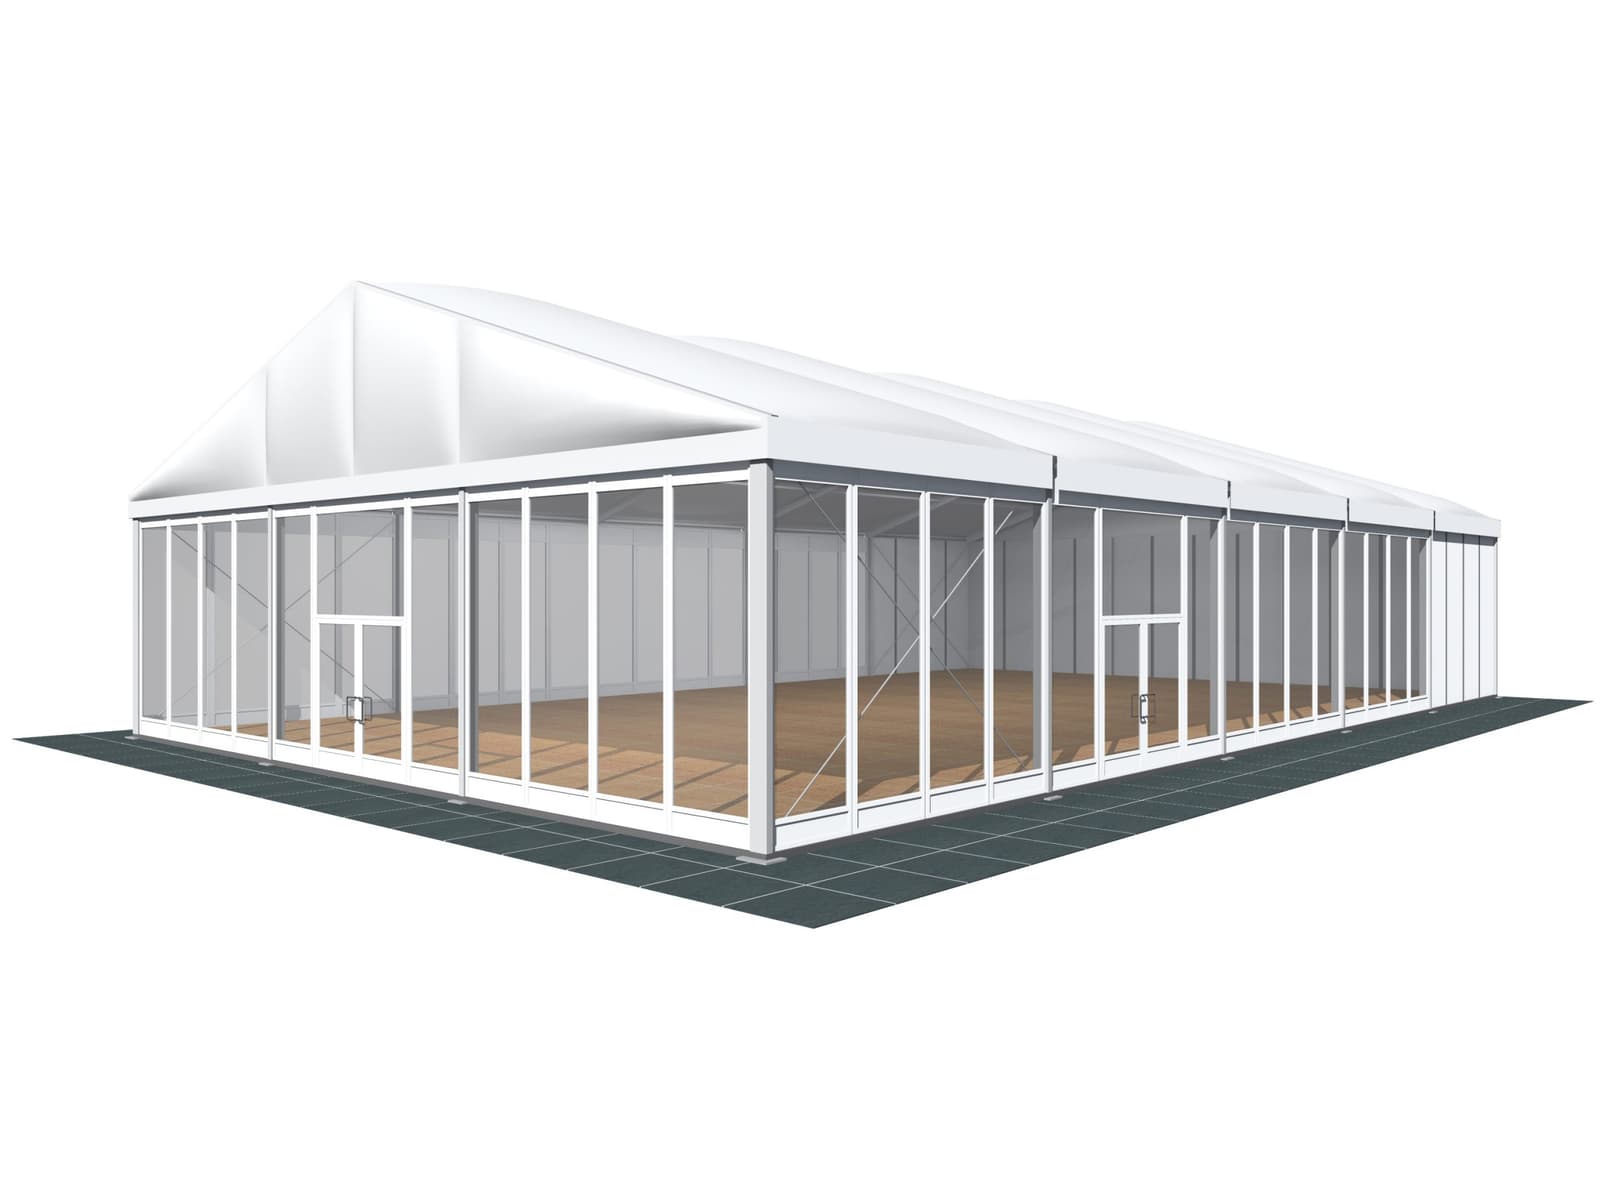
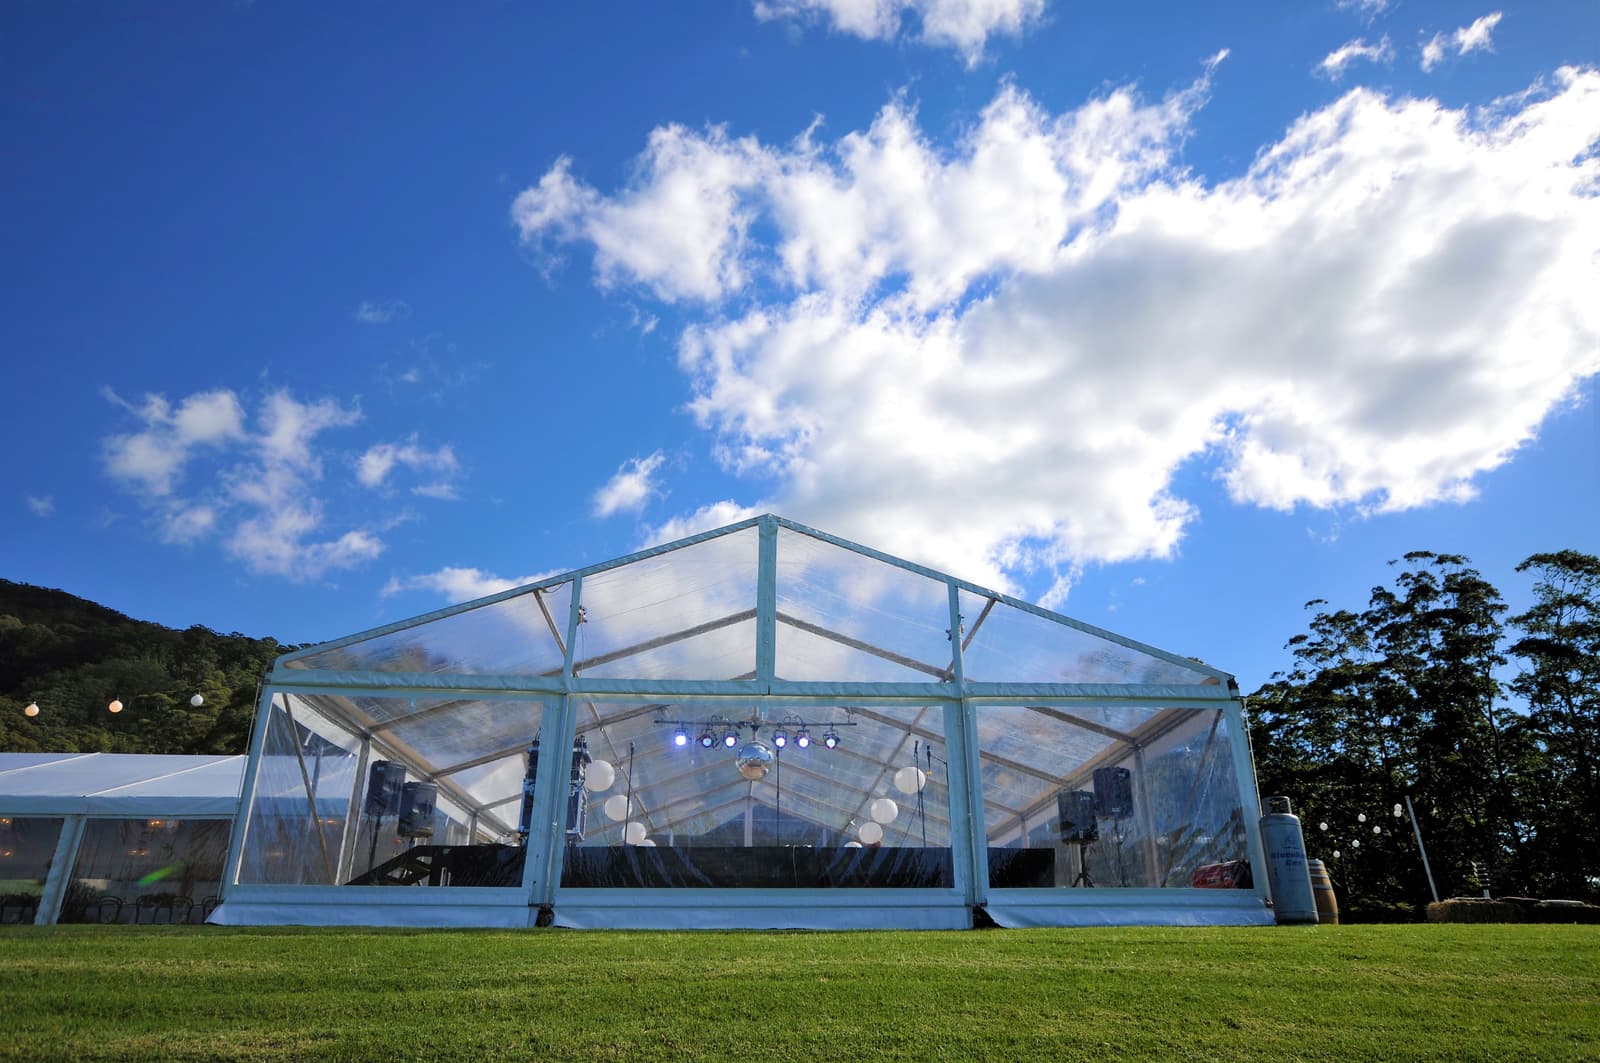
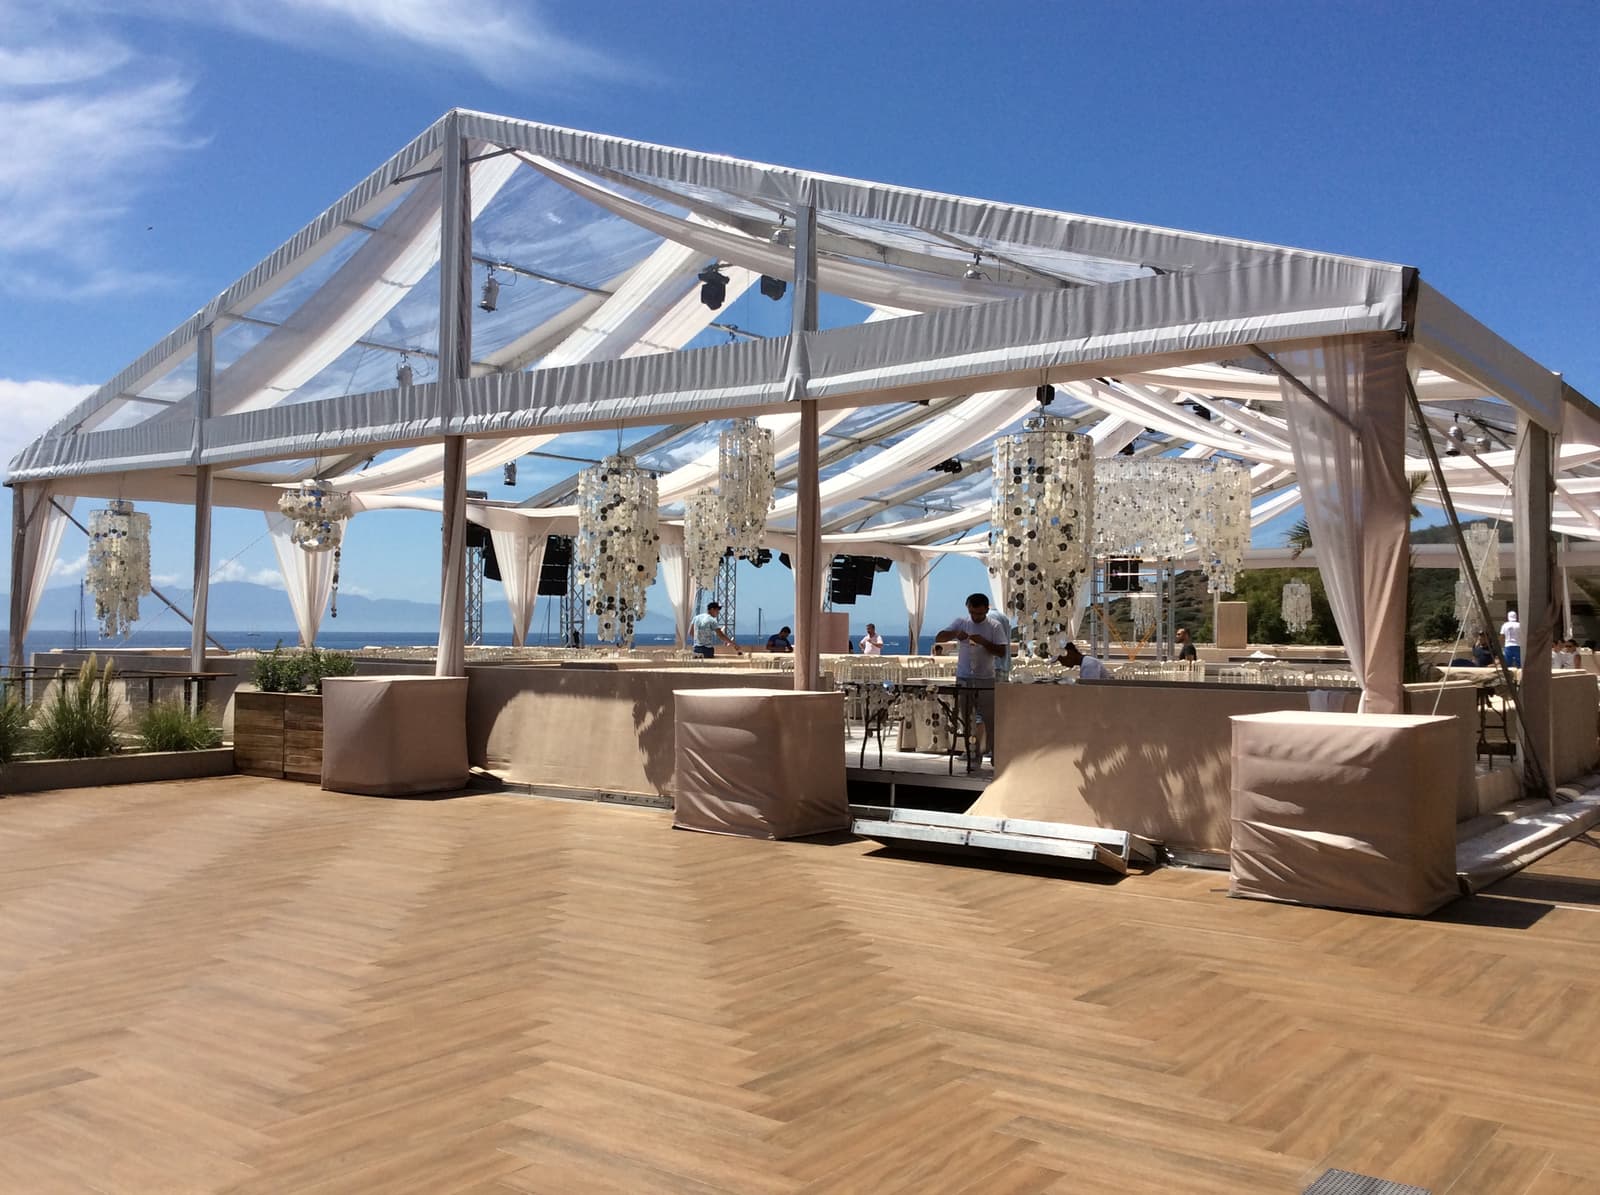
With the perfect party tent or marquee, every event becomes a true highlight. From small, cosy garden parties in a party tent to large-scale events in our marquees with spans of up to 60.00 m – there is a suitable tent for every event.


Find out now which party tent or marquee is best suited to your occasion. All the information can be found in our expertise on choosing the ideal event building.
Would you like to equip your party tent or marquee with the right accessories as well? Read all about the accessory options from HTS TENTIQ.
Party tent assembly: self-initiative or professional service for assembling your marquee or party tent?
The decision whether to assemble a party tent yourself or prefer professional assistance depends on various factors:
The size of the tent plays a key role. Small party tents are generally easy to assemble, whereas larger tents are usually much more complex to construct. In case of doubt, you should leave the assembly of a marquee to professionals.
Experience and skill of the assisting persons are also decisive. If you feel confident in the assembly and have enough people available to support you, you can easily set up a party tent yourself.
Your available time is also an important factor. If you only have limited time or simply want to minimise the effort, it is advisable to make use of a professional assembly service.
Assembly and safety: expert tips from the tent manufacturer
Party tents and marquees from HTS TENTIQ impress with their high stability and weather resistance – provided they are assembled correctly. Although assembling a party tent is not difficult, it should always be well prepared. We have put together some expertise for you that you should definitely take into account during assembly:
- Read the assembly instructions, including safety and warning notices, carefully before starting construction.
- Plan sufficient time for the assembly.
- Follow the assembly instructions throughout the entire installation process.
- Only assemble a party tent or marquee in suitable weather conditions. Heavy rain, snowfall or storms are weather conditions in which no tent assembly should take place.
- Proceed carefully during assembly to avoid any damage to the tent.
Celebrations such as weddings, parties, ...
Duration of marquee assembly: How long does it take to assemble your party tent?
As a general rule, the larger the tent, the longer the assembly takes. However, the complexity of the tent also plays a role in the installation time. Compared to party tents, marquees are not only larger but also heavier, as larger and wider frame profiles are used. The assembly of a marquee can therefore take several days, whereas a party tent can usually be set up within just a few hours.
In addition, the tent equipment also affects the installation time: the more accessories and fittings are used, the longer the assembly takes.
What you need for assembling your marquee or party tent
For the safe and correct assembly of your party tent or marquee, you will need certain tools and aids. Included in the delivery of HTS TENTIQ party tents and marquees are a 5.00 m measuring rod, an assembly fork, an erection pole and a locking pole.
We show you which additional tools you should have ready at hand during assembly:
- 3 tension ropes including snap hooks with a load capacity of at least 250 kg
- 2 ratchets or spanners
- 2 ladders
- 1 crowbar
- Square timber in various lengths and thicknesses for underlaying
- 2 sledgehammers or driving aids for ground anchors
- 1 measuring tape
- 1 pipe wrench
- 1 engineer’s hammer
- 1 spirit level
- 1 string line for twice the tent length
In addition, a forklift with a telescopic boom and a work basket can be used for assembly and disassembly. This makes the setup much easier, especially for large tents. For dismantling, an anchor extractor is also useful.
In addition to the tools, you will need a sufficient number of people to carry out the assembly. The number of people required depends on the size and complexity of the tent. As a general guideline: 3 to 4 people should be used for a party tent, and 6 to 8 people for the assembly of a marquee. You should also ensure that the various tasks involved in the tent assembly are assigned to different people. This makes the assembly more structured and ensures that everyone is clear about their role.


Party tent assembly expertise: step-by-step instructions for assembling marquees and party tents
Regardless of how small or large the tent to be assembled is, well-planned installation is essential. To make assembly easier for you, we have summarised the HTS TENTIQ party tent assembly expertise in six steps.
1. Select the location and plan the assembly
Before you begin assembling the marquee and bringing all materials to their respective positions, you should carefully inspect the location. Choose a flat, level surface. The slope must not exceed 1%.
2. Unpack the individual parts of the tent and sort them in advance
Once you have clarified exactly where the tent is to be placed, you can unpack and lay out all components. Check against the instructions whether all parts are present and group the individual components sensibly. This saves you from having to search for the right parts during assembly.
3. Aligning the tent
For optimal alignment of the tent, you can orient yourself using public reference lines such as the course of a road or building frontages in relation to the tent’s ground dimensions. This reference frontage is an important aid when starting the assembly.
For alignment, also use a string line that is at least twice as long as the tent. Align the tent so that the entrance is positioned ideally for your intended use.
Now begin by placing the first anchor plate along the reference frontage and secure it with suitable ground pegs. Then mount the second anchor plate along the reference frontage. Afterwards, position the third anchor plate along the width of the tent. You can now lay out all remaining anchor plates.
The anchor plates can be underlaid by a few centimetres to compensate for ground unevenness. Make sure that anchor plates have an outer and inner side. Correct and precise positioning is important for further assembly. If incorrect anchor plates are used, plates are positioned wrongly, or unsuitable or too small ground pegs are used, further assembly may be compromised and serious danger may arise.
4. Frame assembly
To begin assembling the frame, it is best to lay out all components in an organised manner. Particular attention should be paid to the correct installation of the wind bracing. These important elements ensure stability and must be positioned according to precise specifications: they must be installed in the first and last bay of your frame without exception. Depending on the length of your structure, it may be necessary to install additional wind bracing. These extra reinforcements should be fitted at regular intervals between the first and last bay. This ensures that your frame remains stable even in windy conditions. The number of wind bracing elements used depends on the tent size.
You can now extend the beams and then connect them to the posts. In the next step, the beams are connected to the ridge shoes. Next, the posts are already fixed to the anchor plates. After that, the wind bracing is attached to the frame, giving the tent greater stability even in strong winds. It is therefore essential to note that incorrect installation of the wind bracing can create significant hazards.
Now the two gable supports still need to be mounted onto the beams. Afterwards, the truss frames are erected and secured, starting with the outermost ones. The number of truss frames depends on the tent length and type. For our party tents, the truss spacing is 3.00 m, and for marquees 5.00 m. The individual wind bracing elements can now be mounted onto the trusses. Finally, at the end of the frame assembly, the cross beams are installed between the gable supports.
5. Installation of the covers
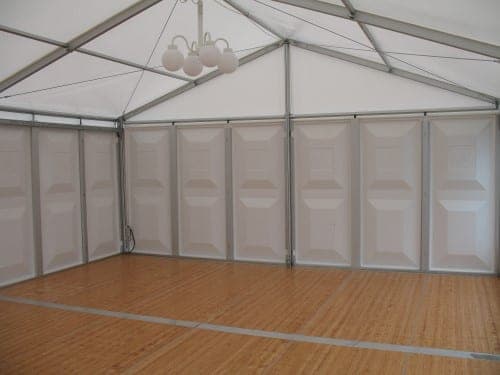
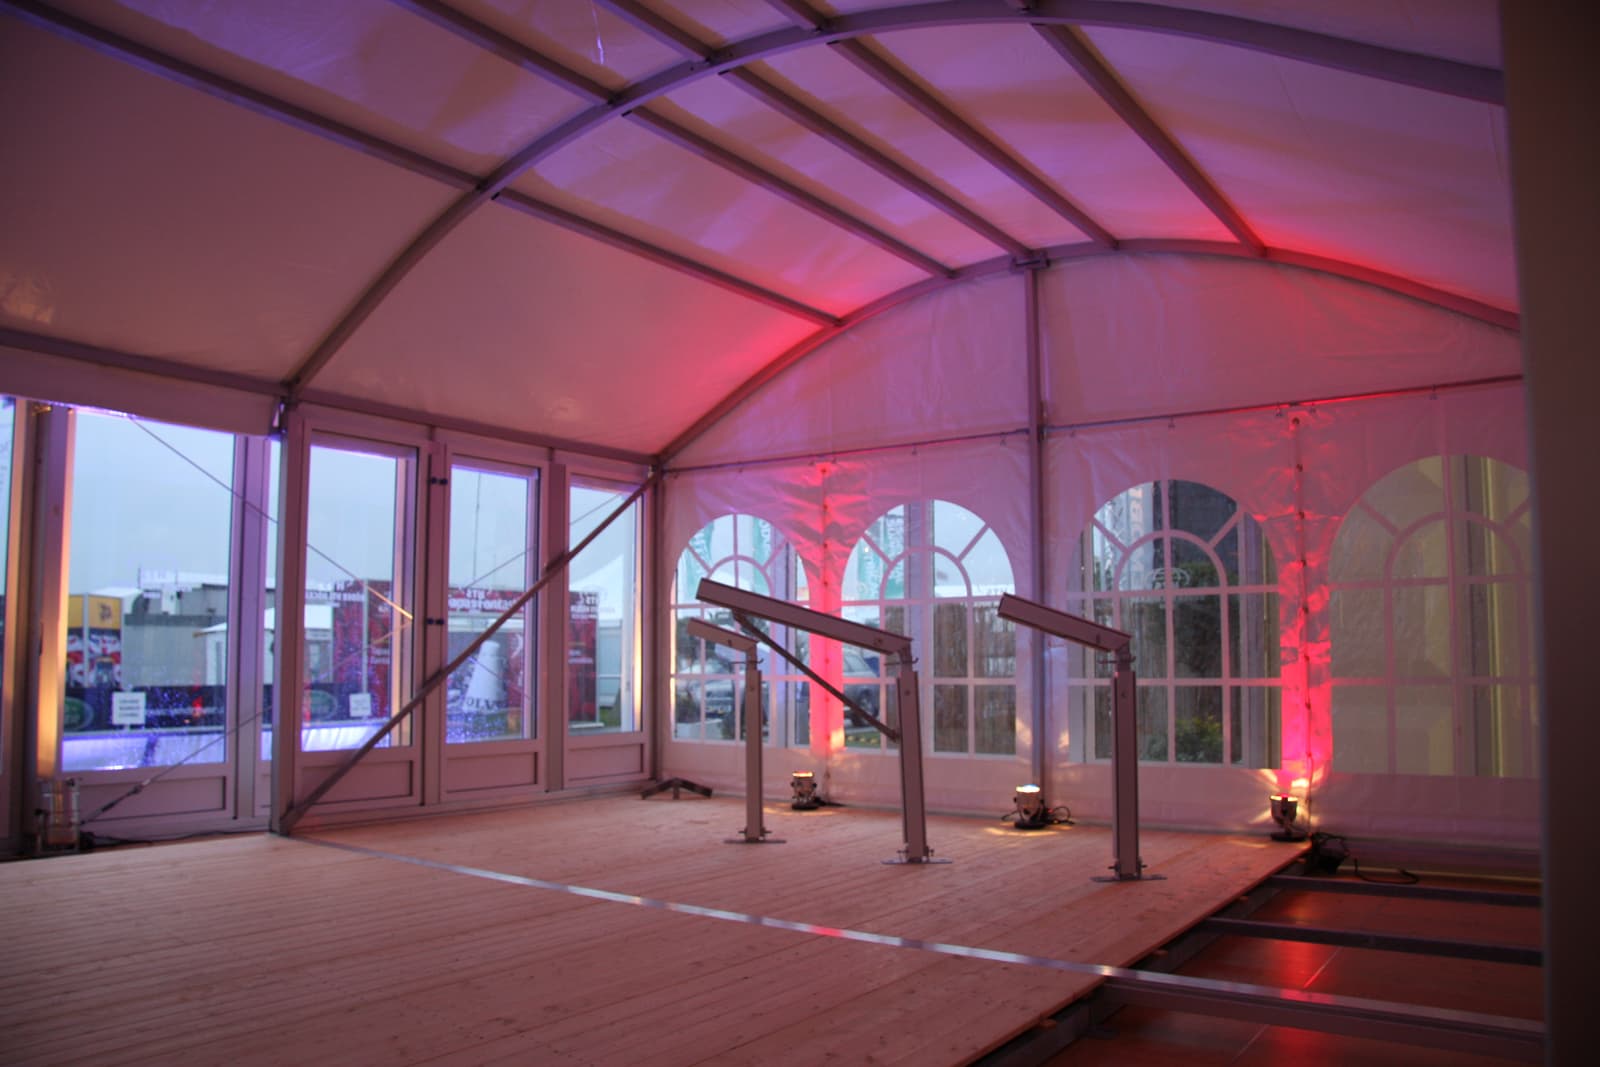
Now begin inserting the roof covers row by row. Finally, the roof cover is secured on the outside. After the roof cover, both gable ends are inserted and fixed in place. You can now install and secure the side walls.
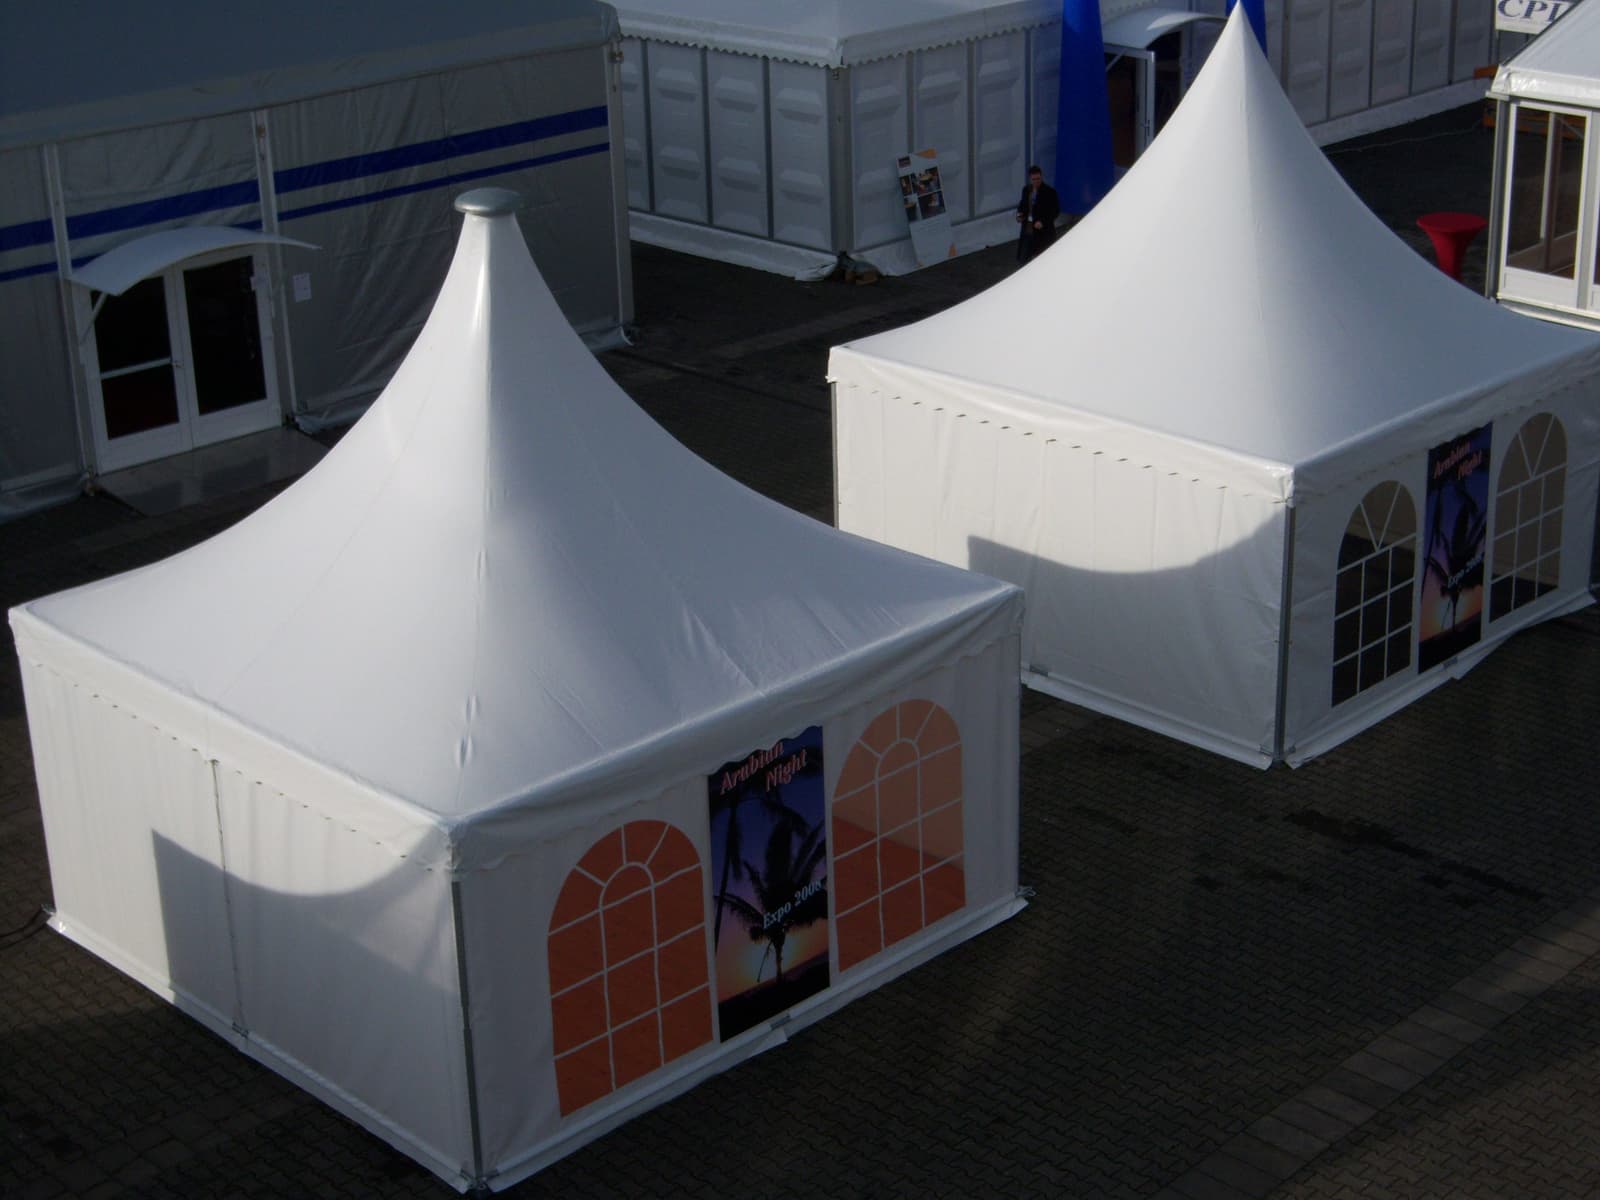
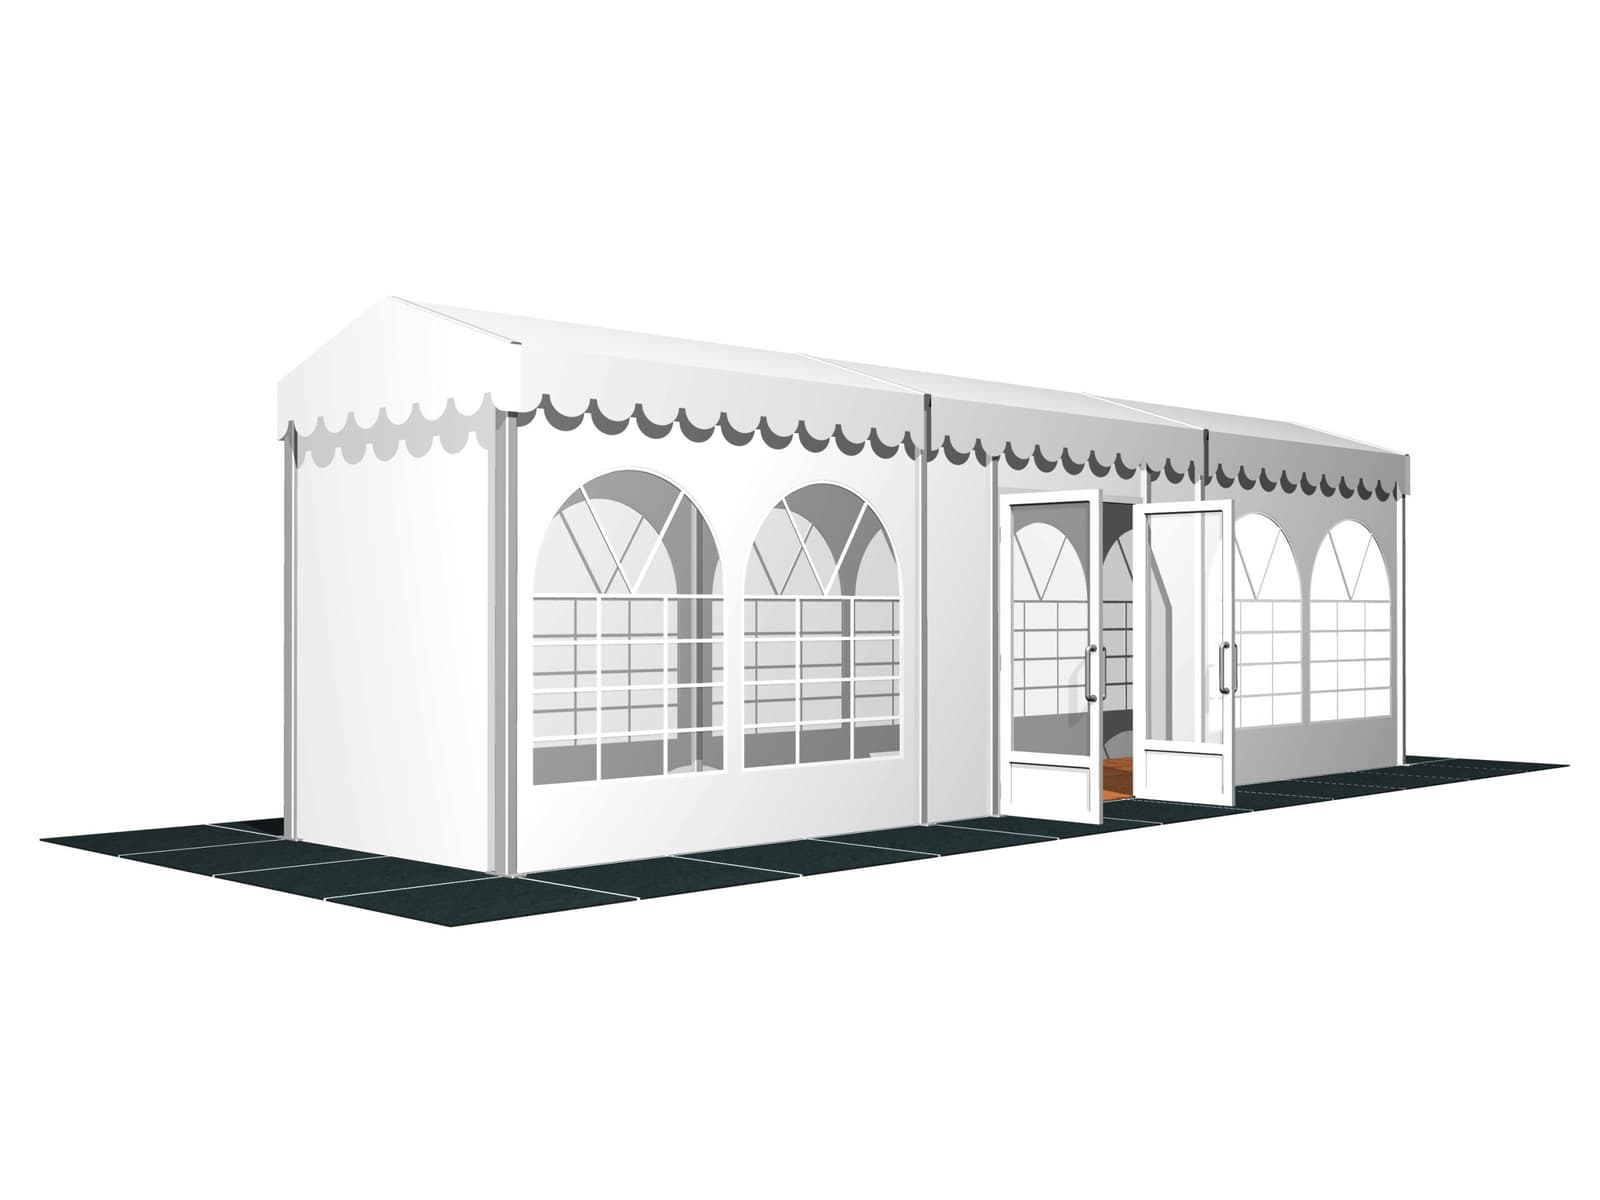
6. Installation of doors and ramps
To also be able to install doors and ramps, intermediate posts and parapet brackets must first be secured. Once this step is completed, the doors can already be fitted. Make sure that the doors open outwards. If required, ramps can now also be installed.
Would you like to contact us? Then use either our contact form – this is the quickest way to reach our experts.
Der ordnungsgemäße Abbau Ihres Partyzeltes: So geht’s
If you wish to dismantle a party tent, simply follow the individual assembly steps in reverse order. You therefore start with the removal of ramps and doors and finish with dismantling the anchor plates.
Qualified personnel should also be scheduled for dismantling. This ensures safety and reduces the disassembly time. During dismantling, pay particular attention to components that are under tension, especially the wind bracing. Improper dismantling can make the tent unstable and may cause injuries. Therefore, only release tensioned wind bracing once the stability of the remaining structure is ensured without the wind bracing in place. Weather conditions are also important during dismantling. In stormy weather, a tent should never be dismantled.
Also check during dismantling whether individual components are damaged. This allows you to separate damaged parts immediately and load them separately for repair or replacement. How to repair minor damage to PVC tent covers yourself is explained in our guide.
Dirt on the covers can be removed using a soft sponge and lukewarm soapy water. Proper care in this way extends the lifespan of your party tent. After cleaning, allow the roof or side covers to dry thoroughly. Only then should the tent covers be folded.
Once the party tent has been dismantled, the individual components must be properly stored. Our specially designed transport frames and cover boxes are best suited for this. This ensures optimal protection of all party tent components and allows continued use for a wide range of events. If transporting the dismantled party tent by lorry, the maximum load capacity must be strictly observed. Once the party tent has arrived in storage or a warehouse, storage conditions are also important. To avoid damage, a party tent must always be stored in a dry environment.
Conclusion: In 6 steps to your finished party tent or marquee
Assembling a party tent or marquee requires careful planning and precise work. However, with clear assembly expertise, a few helpful tips and some practice, you will be able to erect a perfect party tent for your next outdoor celebration in no time.
To make the marquee assembly easier for you, when purchasing an event building from HTS TENTIQ you will be provided with a detailed installation manual as a PIN-protected download. Once your party tent has been set up, you will find valuable tips in our expertise on achieving the perfect indoor climate in party tents.
.jpeg&w=1600&q=75)